It’s done. You’ve pulled the trigger on that project car and dragged it home.
Project cars come in all shapes and sizes, so let’s assume you’ve found yourself one that runs, but just barely. Only your true die-hard hot-rod buddies get it. Everybody else thinks you’re crazy. You see what the non-believers can’t, not a rusty junkyard escapee but a soon-to-be cruiser that just needs a little tweaking to become a loyal daily driver.
Building it is a moral imperative. There are a hundred things that it needs and a thousand cool parts you want, but you can’t afford them all — heck, you can’t afford any of ’em. You just laid down most of your cash for the right to put your name on the title.
But you can still plan. And that’s what we designed for you: a plan. It will change, you can almost bet on it, but we put together a basic road map to get you pointed in the right direction.
It’s an annoying fact of life: Building a hot car is not as much about what you want as it is about what you can afford. All the TV shows and much of the magazine hype is all about the latest trick parts and making 1,000 hp. We’re not sure how those folks can afford all that—most car guys we know are scraping by with limited cash because annoying things such as rent and food seem to take precedence over buying new car parts.
At Roadkill, we think you can pay your rent and still get your garbage running right(ish), so we’re gonna start right at $50 and work our way up through four-digit budgets to offer our recommendations of how to spend your dough.
Because there’s so much to do with a car, we will limit this discussion to engine recommendations.
Similar outlines could easily be done for handling, braking, and gearing, and we’ve heard some people like to make their rides look nice, too. For now, we’ll stick to horsepower and torque. What should you do with your next paycheck when it comes to souping it up?
By design, this outline will be a bit generic and sort of Chevy/Ford-biased because those are the projects we’re getting the most questions about. All the theories will apply just as well even if your project is a VW or an AMC—only the budget will go twice as far for the former and need to be tripled for the latter. Sorry. Let’s get started!
Your Target Build Budget:
$50 | $100 | $200 | $500-$750 | $1000 | $2000-$2500
Hot Rod Build Budget: $50
If you’re starting with $50, by the time you change the oil and fill the tank on your new baby, you’ll be in the negative, but let’s imagine you’ve still got five Hamiltons in your wallet. Consider spending those fellas on an assembly or service manual or book for your car just so you can see how all the pieces fall together.
Something people rarely mention when dealing with old cars is that the electrical systems generally suck, so a color wiring schematic of your car is a great place to start. You will need to trace down wiring problems sooner or later, especially if the harness has been messed with or chewed on. We found 11-by-17-inch color diagrams from ClassicCarWiring.com for numerous popular applications for only $17.95.
Another move that can really benefit the electrical side and costs nearly nothing is upgrading the charging system with a larger wire. It’s not uncommon to find a major voltage drop between the alternator and the battery.
The test is simple enough: With the engine running and with an electrical load (headlights on bright, for example), check the voltage at the alternator output and then at the battery. If the meter reads 14.5 volts at the alternator and only 13.5 volts at the battery, that’s a problem.
This voltage drop should be no more than 0.40 to 0.50 volts. Clean all the connections, and if an excessive drop continues, increase the size of the charge wire from the alternator to the battery. A fully functioning charging system is important, and at the very least your headlights will be brighter. So maybe that’s something else for your first spend, a multimeter. A cheapie will set you back $20.
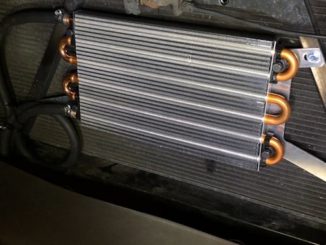
You’ve got about $12 left from your $50, so give your cooling system a quick glance. Does your radiator cap maintain pressure? Is the thermostat opening when it should? Are the hoses squishy or leaking? You can’t fix all three with $12, but you can tackle one of them.
Most ’70s–’80s cars used 195-degree thermostats to improve emissions. By replacing that with a 180-degree thermostat, your engine will run cooler, which reduces the inlet air temperature through the intake manifold and might improve power slightly. In older cars, previous owners have often removed or damaged thermostats. Replacing one is cheap engine insurance.
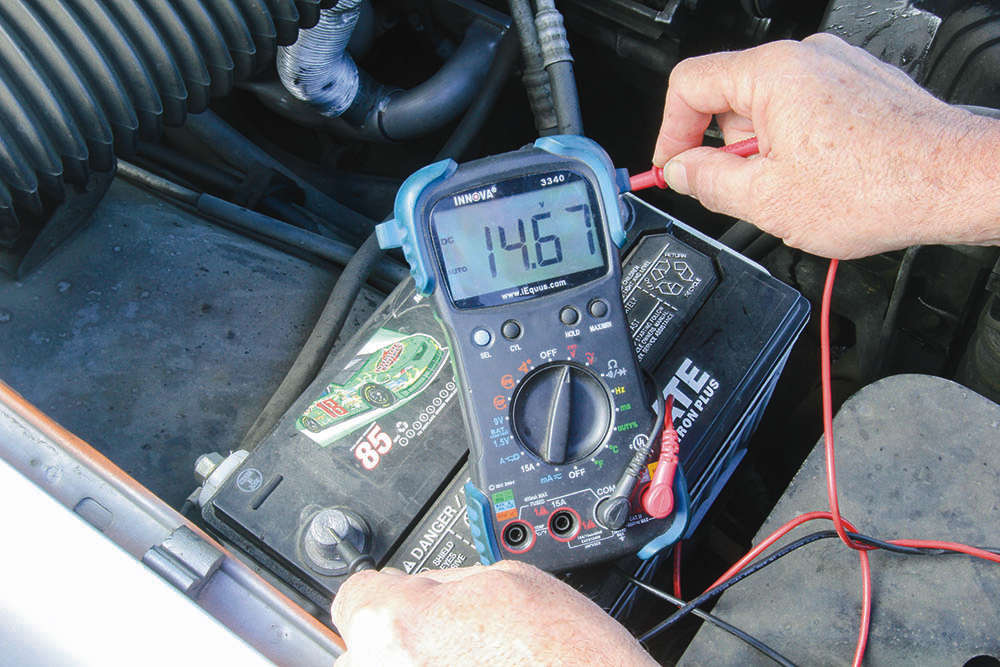
Measure the voltage at the alternator and compare it to the battery reading. If the battery numbers are more than 0.5 volts lower, replace the alternator charge wire with a larger-gauge wire to improve the charging system performance.
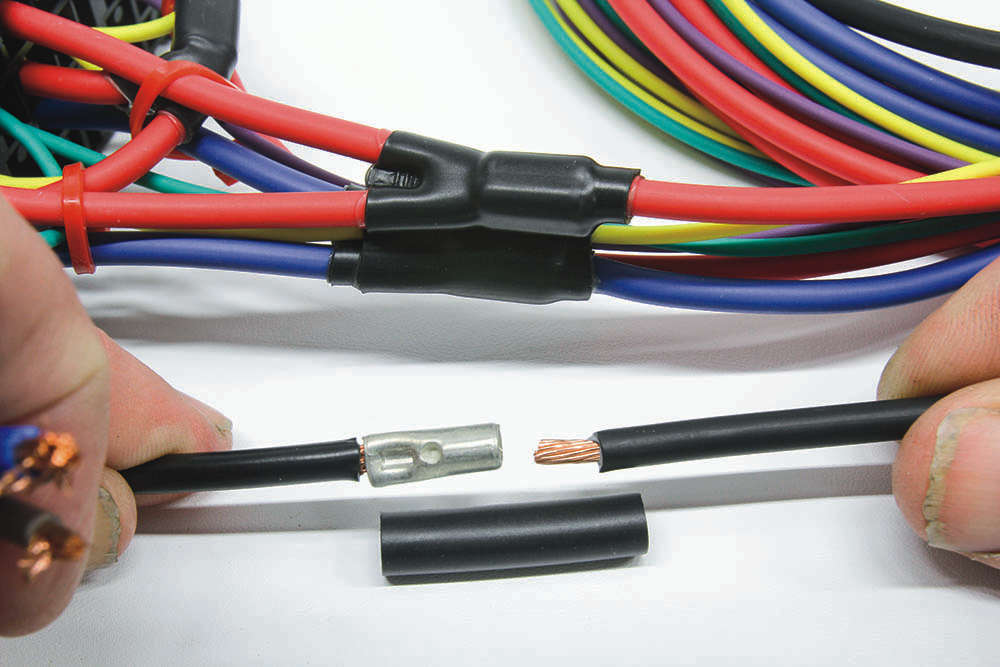
If you see one of these connectors infesting the electrical harness on your car, immediately remove it and replace it with a professional wiring repair. These little demons are called Scotchloks, and they have no business on any car. 3M makes lots of quality parts. This just isn’t one of them. We like to use non-insulated crimp connectors and shrink tubing to make electrical connections. The connectors are not expensive, and you don’t need a pricey heat gun for the shrink wrap. A cheap plastic lighter works just fine.