Hot Rod Build Budget: $100
Spend some time power washing, degreasing, and detailing the engine compartment. If you’re really motivated, buy some semigloss spray paint, mask off the fenders and engine, and paint the engine compartment. This won’t make the engine run any better, but it will look nice in your Instagram photos.
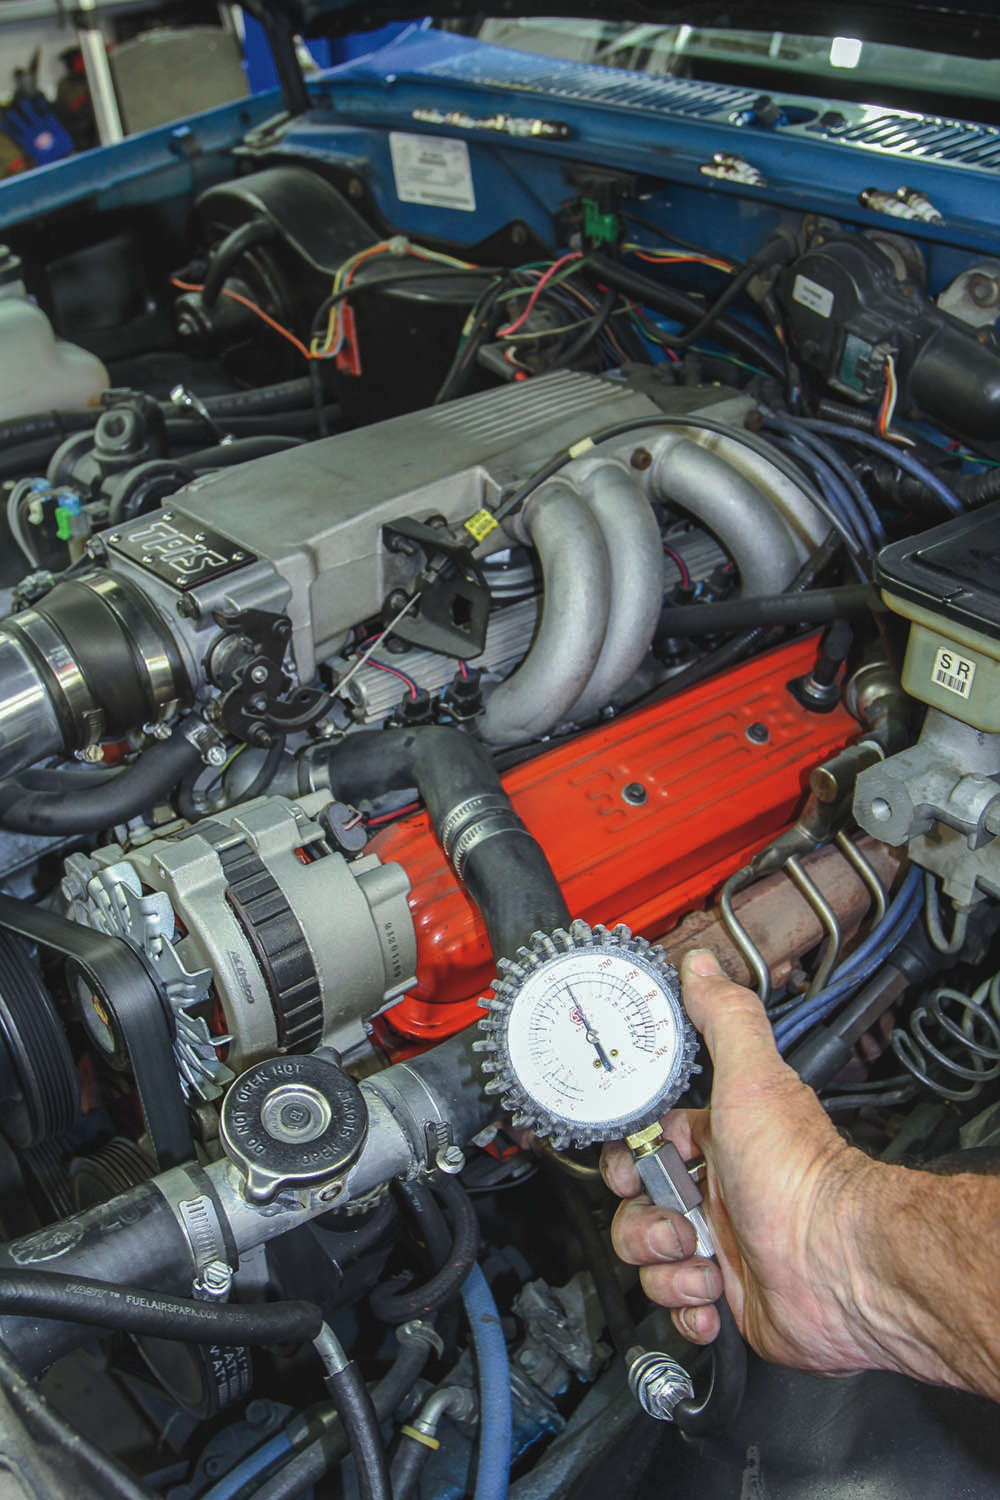
We’ll assume you have some basic hand tools, but you might have to borrow a timing light and a compression tester for this next part. Remove all the spark plugs and perform a compression check. You can look up your specific engine’s cranking compression if you like, but if your engine has lots of miles on it, your results will likely be cause for disappointment.
Generally, a ’70–’80s production V-8 will generate cranking compression of about 140 to 170 psi depending upon a raft of variables. Newer engines should be a little higher, older engines might be lower, but what we are seeking is not necessarily a high reading as much as consistency between cylinders.
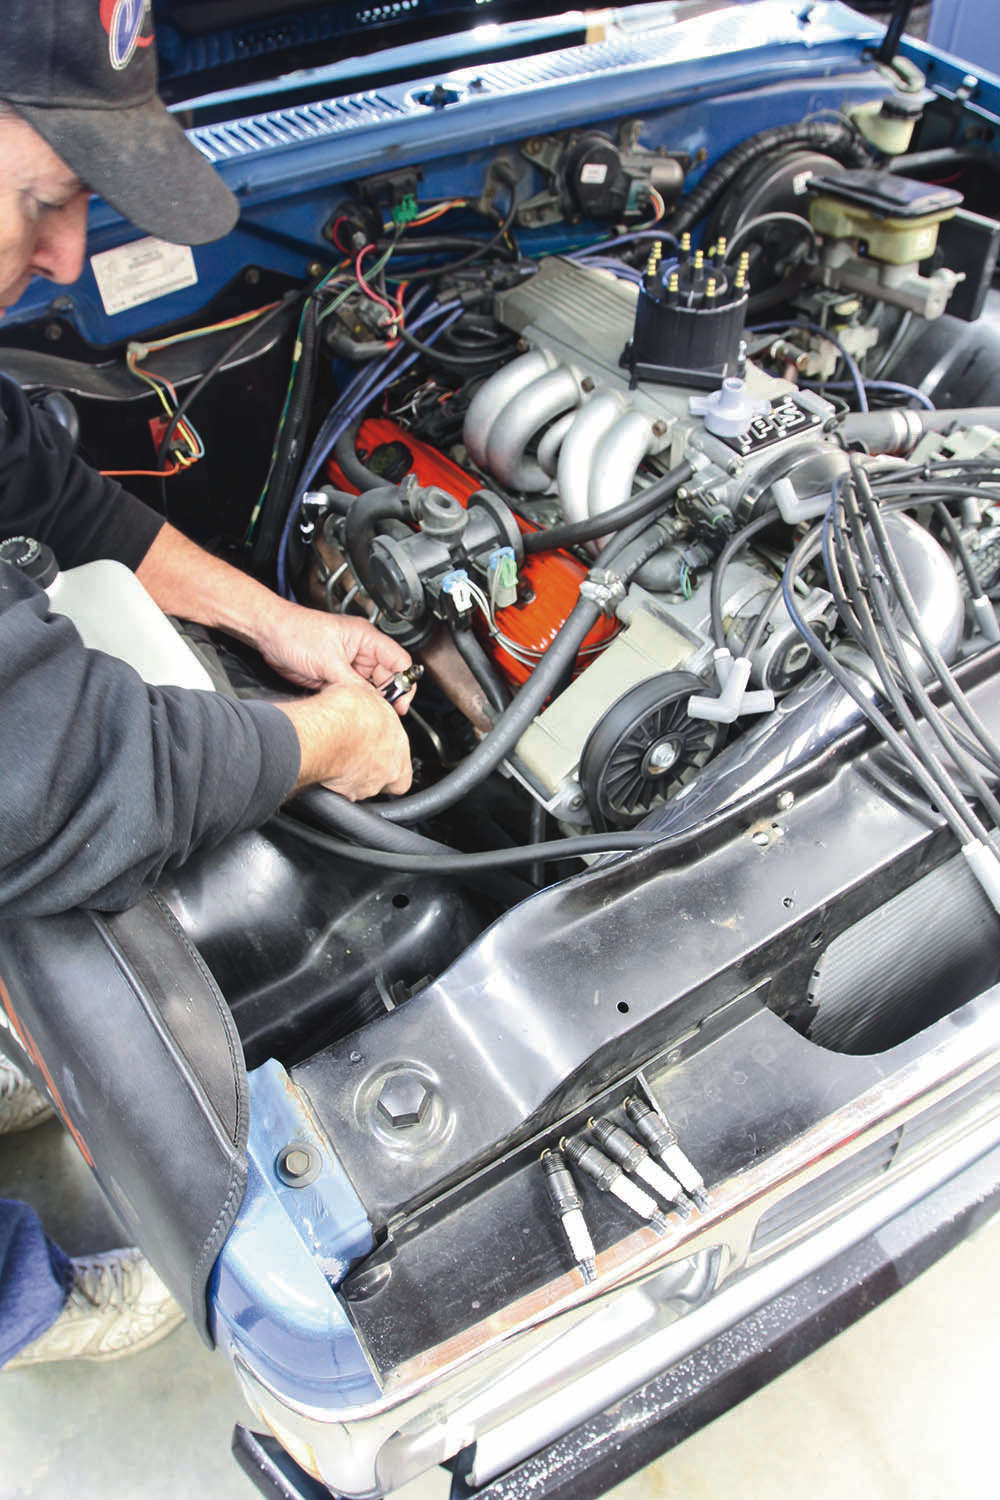
Do the check with all the spark plugs removed, the ignition system disabled, the engine warm, and the throttle blades popped open. A 10 percent variation is normal. Assuming the readings are good, you can move on to replacing the spark plugs with stock heat-range, extended-nose spark plugs along with the distributor cap and rotor. All of these parts are building blocks for later upgrades.
Next, check the plug wires for resistance. This is a decent test for wire condition—look for readings of less than 10,000 ohms of resistance. A lower number is better. The better plug wires are the spiral-wrapped wires from Accel, FAST, Moroso, MSD, Taylor, and others. We prefer the universal sets that allow custom wire routing to give the engine a cleaner appearance.
Make sure to allow sufficient wire length around the distributor cap to allow moving the distributor to adjust timing and to get the cap on and off without difficulty. This sounds simple, but more than once we’ve been tripped up by beautiful wire routing that prevented free distributor movement to set the ignition timing.
With the new parts in place, you can set the engine timing. Start by cleaning and marking the harmonic balancer and disconnecting the vacuum advance canister. With the timing light hooked to No. 1 plug wire, check for initial timing at idle of around 8 to 12 degrees before top dead center (BTDC). This is called initial timing. Checking total timing will require either a timing tape to indicate total timing or a dial-back timing light. The total to shoot for is around 36 degrees as a good starting point.
The dial-back timing light is the easiest to use, and a few affordable lights work well. The idea is to rev the engine to around 3,000 rpm and set the TDC mark on the balancer to 0 degrees by moving the dial on the light. The dial will indicate the total amount of timing. This is the same procedure if you are using a digital dial-back light. Remember to do this with the vacuum advance hose disconnected. Otherwise, your numbers will be off by the amount of advance added by the vacuum canister.
If you don’t have a dial-back light, you can use a standard timing light and install a simple timing tape. MSD sells inexpensive timing tapes for each harmonic balancer diameter. This is available as PN 8985 for a mere $5 through any big online parts house.
Setting timing is an important step. Ask the Roadkill guys how they know…
You can set the timing to the stock factory initial. But don’t be afraid to bump the initial timing a couple of degrees to see if it helps performance. With a mechanical advance distributor, a good initial setting is 10–12 degrees with a mechanical total of 36 degrees. Always check total advance with the vacuum advance disconnected.

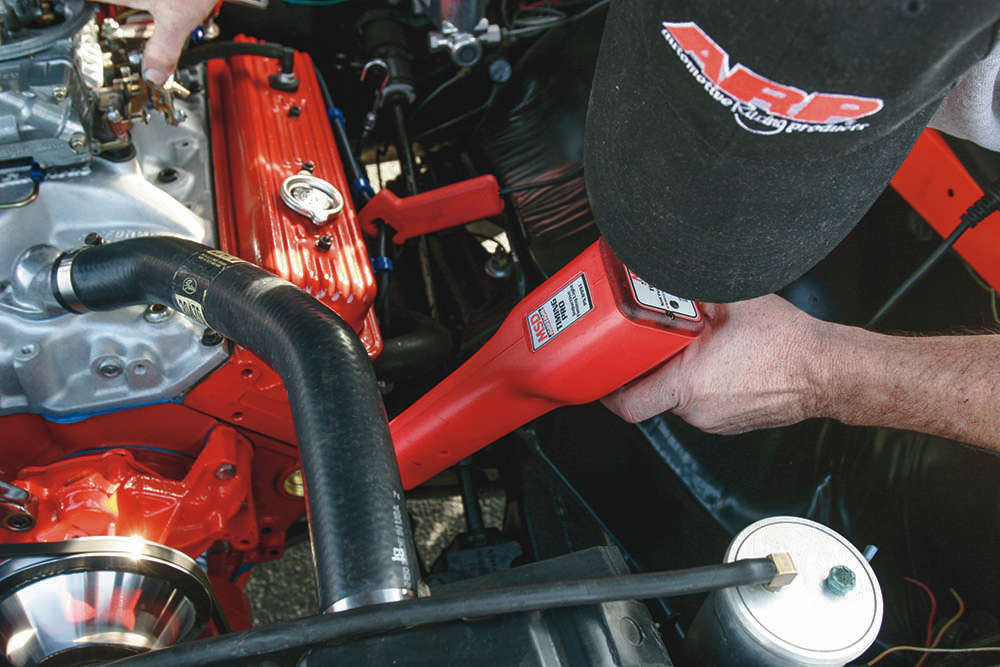
This is a traditional dial-back timing light. The dial will indicate the total timing. In this example, the total timing is 36 degrees.