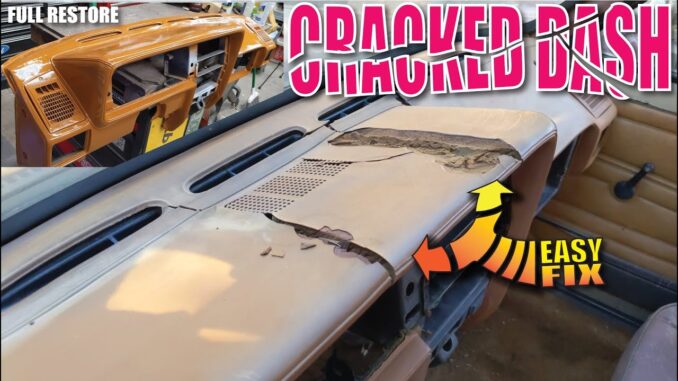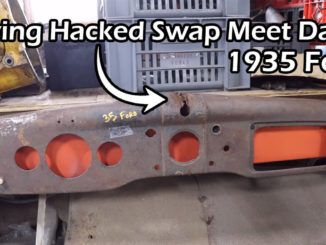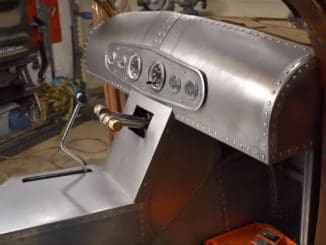
The YouTube channel “sixtyfiveford” has become a go-to destination for enthusiasts seeking budget-friendly solutions. One of their recent videos, titled “Complete Cracked Dash Repair Super Easy DIY,” Moe showcases a remarkable transformation of a severely damaged dashboard. In this article, we’ll look at the process, techniques, and materials used to restore the dash to a condition as good as new — all for under $30.
Cutting the Dash Crack
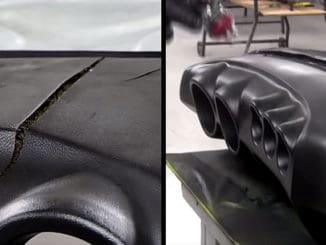
The video begins with a close-up of the extensive damage to the dashboard. Acknowledging the challenge ahead, Moe emphasizes removing the dash for easier repair. The crack is then carefully cut out using a razor blade and a heat gun to ensure a flat surface with no protruding edges.
Preparing for Bondo Application
The next step involves using a razor blade and a heat gun to widen the cracked areas. Moe explains the need to create a smooth, flat surface to achieve the best results. The damaged areas, including those affected by a mouse’s nibbling, are shown, emphasizing the extent of the repair needed.
Applying Bondo
The video recommends using a specialty product designed for dash pads to fill in the cracks and build up the damaged areas. However, it’s revealed that regular Bondo or body filler works just as well. Moe demonstrates the importance of scuffing the surface with 80-grit sandpaper for better adhesion before applying the filler.
Theory Behind Bondo Application
Moe delves into the theory behind applying Bondo on a dashboard with foam and vinyl layers. The goal is to ensure the Bondo adheres directly to the hard plastic base, preventing cracks in the repaired areas. The process involves carefully scuffing the surface and digging out some foam underneath for added support.
Bondo Application Demo
A demonstration shows a cured piece of Bondo that flexes similarly to vinyl when heated. Moe emphasizes the importance of layering Bondo, starting with a thin application to fill underneath and gradually building up for a smoother finish.
Rebuilding and Sanding
As the repair progresses, Moe shares the challenges of rebuilding specific sections, such as vents and speaker holes. The video highlights the importance of patience and skill in sculpting the Bondo to match the original contours. Multiple coats and sanding sessions are required to achieve a satisfactory result.
Preparing for Paint
With the Bondo work completed, the dash is ready for paint. Moe discusses various texture options, including stone texture spray paint and hammer finish. The choice depends on whether the dash requires a specific texture to match the original.
Painting Process
The painting begins with applying an adhesion promoter and a primer designed for plastic. Moe recommends standard spray paint for the final coat, emphasizing that specialty vinyl paint is unnecessary. The video showcases the dash’s transformation from damaged to a like-new appearance.
Texture Options
For those dealing with textured dashes, the video recommends options such as stone texture spray paint, dash texture spray, and flocking for a suede-type finish. These products can add the desired texture before painting.


