How To Tint Your Windows
Window tinting is a relatively difficult endeavor, but with patience and proper coaching, you can achieve your desired results.
Start by working in a clean and dust-free environment. Start cleaning the glass with window cleaner and a lint-free cloth, working from the top downwards. It is important to get the window glass exceptionally clean for the best finish.
Next, remove anything from the vehicle that will obstruct your workspace. Remove the door panels, and the rubber wipes and seals from the doors. These may already be attached to the door panels. Once these are removed, clean any areas of the glass not yet clean. If you are fortunate enough to have a hatchback, remove the rear hatch to make the installation easier.
Start with the rear window first. It is always the hardest to do due to the limited space and its shape. Many rear windows have a compound curve to them, which is very difficult to cover correctly. We will alleviate this problem by creating our window tint film pattern on the outside of the window. If you have removed the rear hatch, this is not necessary.
Layout a couple of long strips over the outside rear window that overlaps at the edges. Carefully cut the outside form of the rear window as close to perfect as possible, being sure to radius (or round) any pointed edges. You can do this by placing a coin in the corner and carving around it. Radius edges tend to not peel as easily as a pointed edge.
With the form cut out for the rear window, you can transfer the film to the inside of the car. Spray the glass with the window film solution and apply the pieces exactly as you did on the outside of the car, leaving the edges of the pieces to overlap slightly. Squeegee the air bubbles and solution from the film, starting in the middle of the center piece and working your way outwards. Then move to the top, and work from the top down, being careful to squeegee any air and solution from the overlapping seams.
Once the film is applied and all solution and air bubbles have been removed, take an Exacto knife or razor blade and cut the overlapping pieces where they overlap. You can be sure to get a straight cut by using a straight edge like a ruler. Take care not to cut into any rear defroster wires when doing this. If done correctly, this method will give you a seamless looking back window. You can again take the squeegee or cloth and (carefully) go over the area again for smoothness. Wipe it dry with a lint-free cloth.
The other windows will be a little easier than the rear window. You can create a template for these windows by cutting the window shape out of freezer paper or wax paper. Take the template and cut out the exact shape of the remaining windows and apply the window tint as before, being sure to radius the edges.
Window tint is relatively inexpensive, so if you mess up a sheet or a cut, just replace it. Your finished product will look as good as the effort you put into it.
How To Apply Window Tint Like a Pro
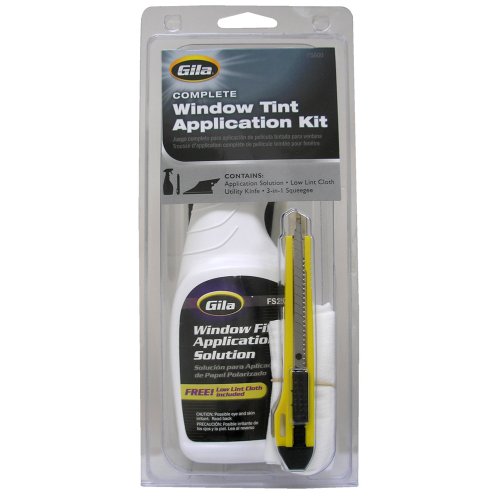
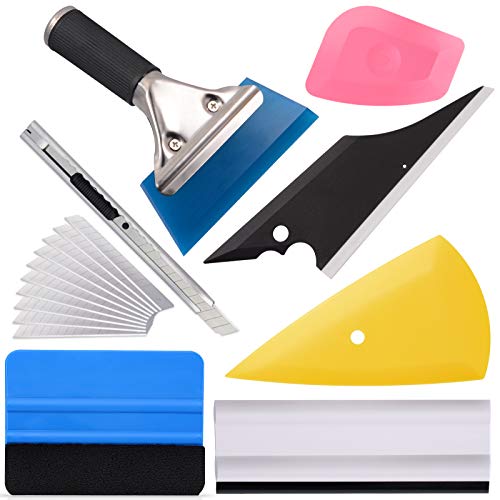
Window Tint Installation Tools and Supplies