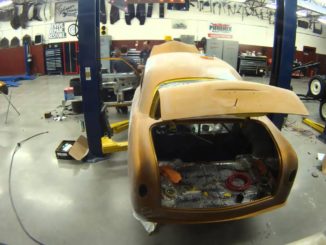
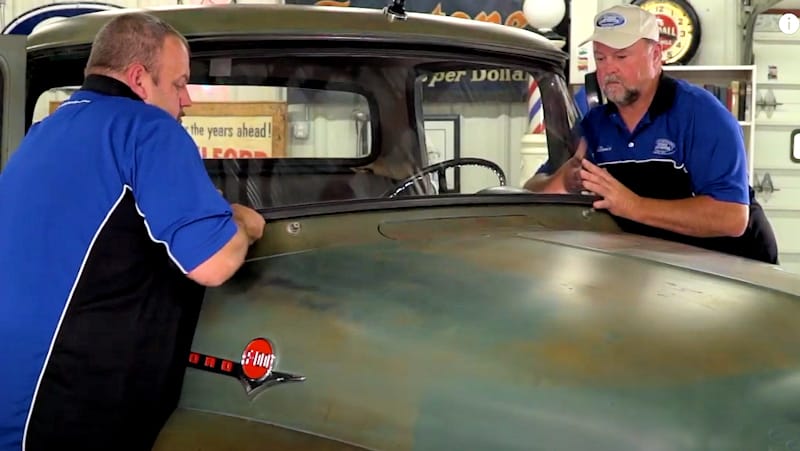
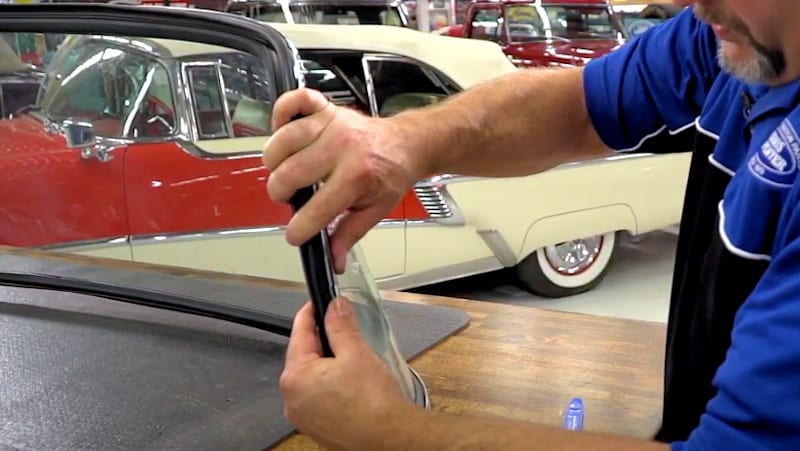
In this demonstration, David and Jason from Dennis Carpenter Ford Restoration Parts show you how to install a windshield gasket or seal, step-by-step.
This windshield installation method will work on most cars and trucks from the 1930s to the late 70s. The install process is demonstrated on the curved front window of a 1956 Ford F100 pickup truck, one of the more difficult models and styles of windshield to work with.
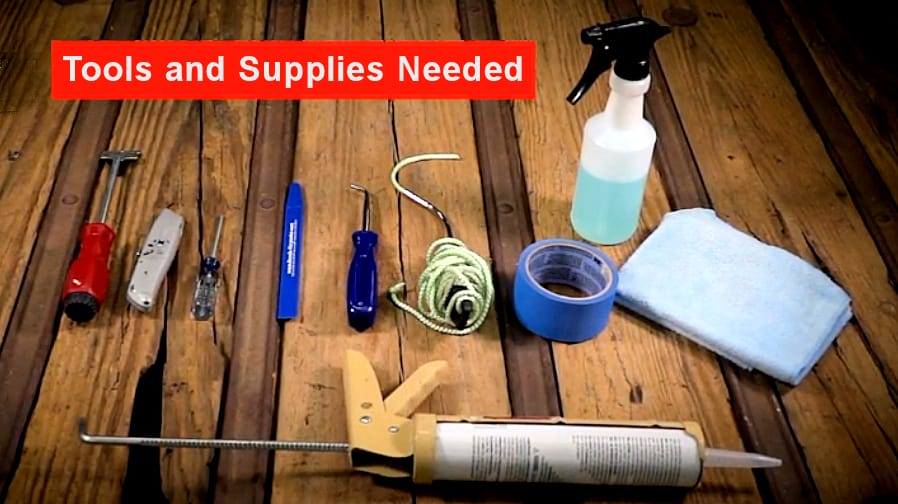
Tools needed to install a windshield and seal
In addition to a friendly assistant, you’ll need to round up:
- Razor blade scraper
- Utility knife
- Phillips screwdriver
- Utility tools
- Ball n hook tool
- Windshield rope tool
- Tape
- Soapy water
- Rags
- Auto bedding and glazing compound
How To Install Windshield Gasket Seals
Time needed: 6 hours
This step-by-step windshield gasket (or seal) installation method will work on most cars and trucks from the 1930s to the late 70s.
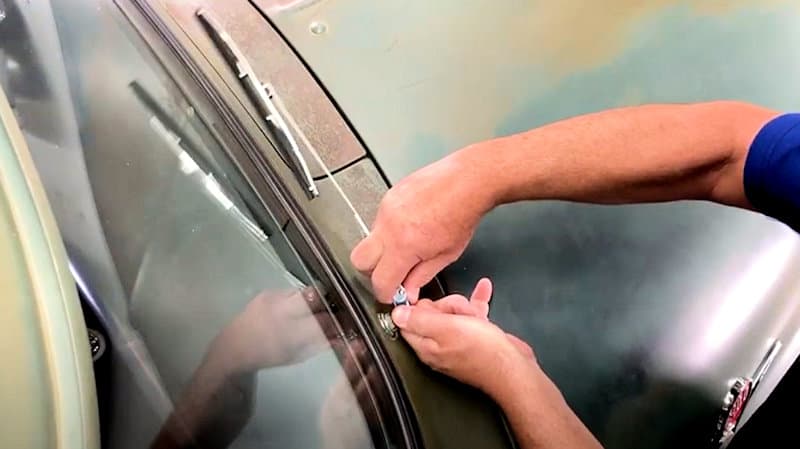
- Remove the windshield wipers.
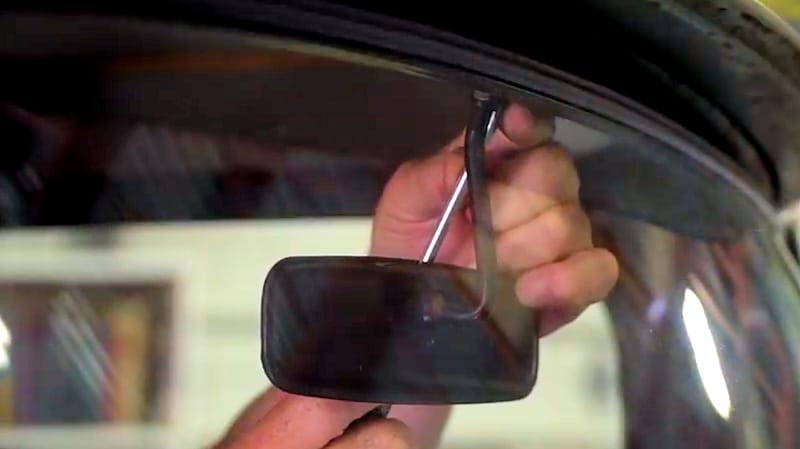
- Remove the rearview mirror.
- Remove the interior garnish molding.
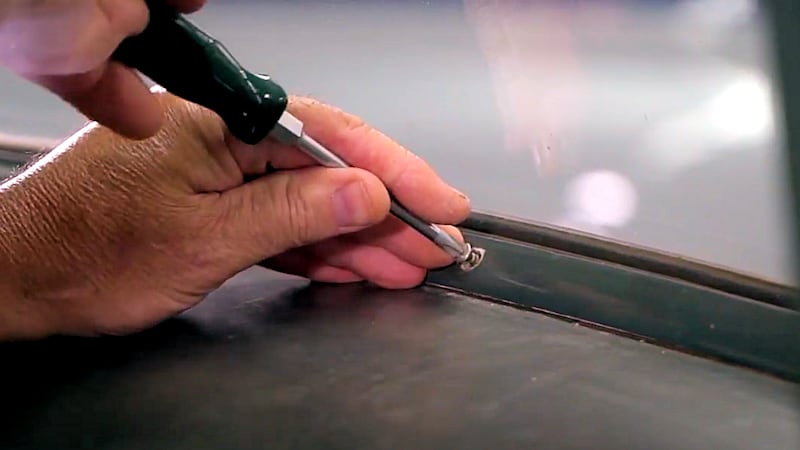
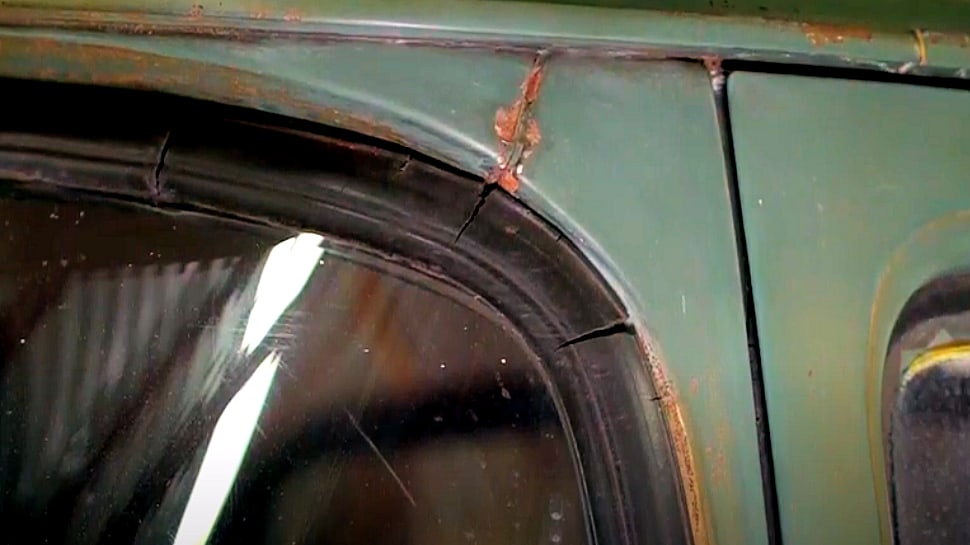
- Cut the old gasket from the truck.
You’ll want to carefully insert the blade next to the glass on the interior side we recommend using a new blade for this step.
Use caution while pulling the blade around the gasket lip making sure to cut through the entire length of the gasket.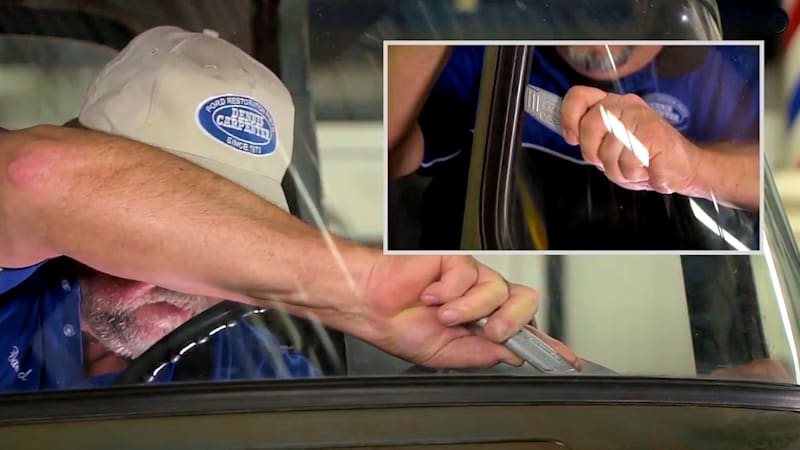
- Remove glass from the vehicle.
Once your gasket lip is cut all the way around it’s time to remove it from the truck.
- Clean window opening and pinch weld area
Thoroughly clean the pinch weld on the truck of any old adhesives or rust.
Now would be a good time to address any major rust issues this will reduce the possibility of leaks later on.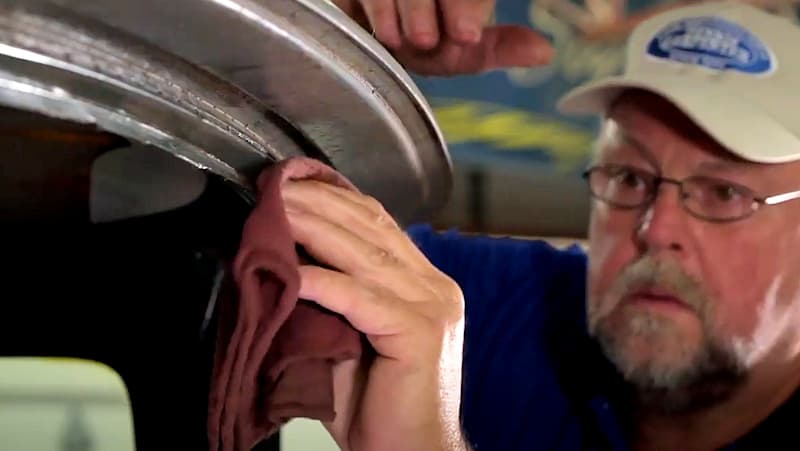
- Remove the gasket from windshield.
- Clean the windshield edge.
After removing the gasket from the glass use a razor blade scraper to clean the glass edge of dirt and adhesive residue.
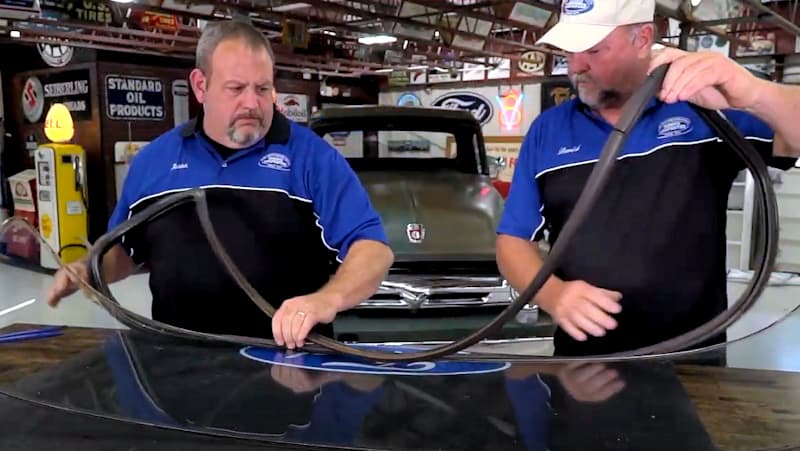
- Install the gasket on the windshield.
Before you begin, we suggest finding the splicing seam and located at the center bottom of the glass.
Start from there and work your way around up to the top. You will need to apply downward pressure while rocking the gasket back and forth so the glass seats into the channel. Continue this process until the gasket is firmly seated on the glass.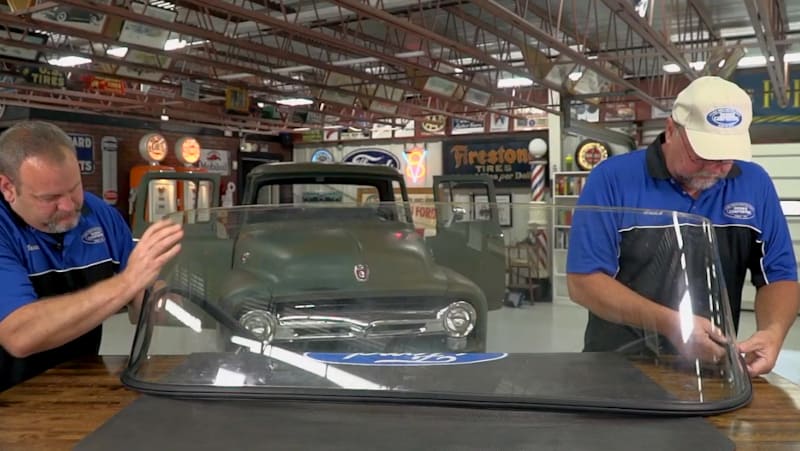
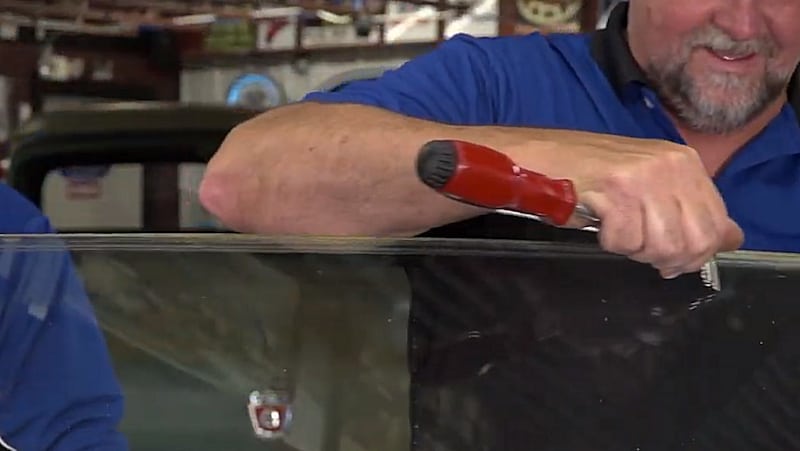
- Install chrome trim (if applicable).
This truck did not have the chrome trim, but we’re going to upgrade it and show you how to install it.
Starting at the top, carefully insert the molding into the front facing groove. Soapy water will help the molding seat into the channel. You will need to work the trim into the groove to make sure it is fully seated. After turning the glass over, repeat this process with the remaining two moldings.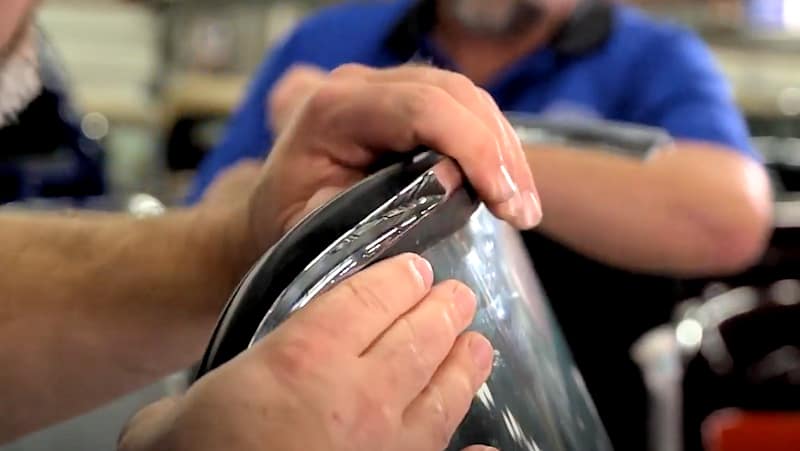
- Install molding end clips.
Install the clips at the ends of the moldings to keep them in place.
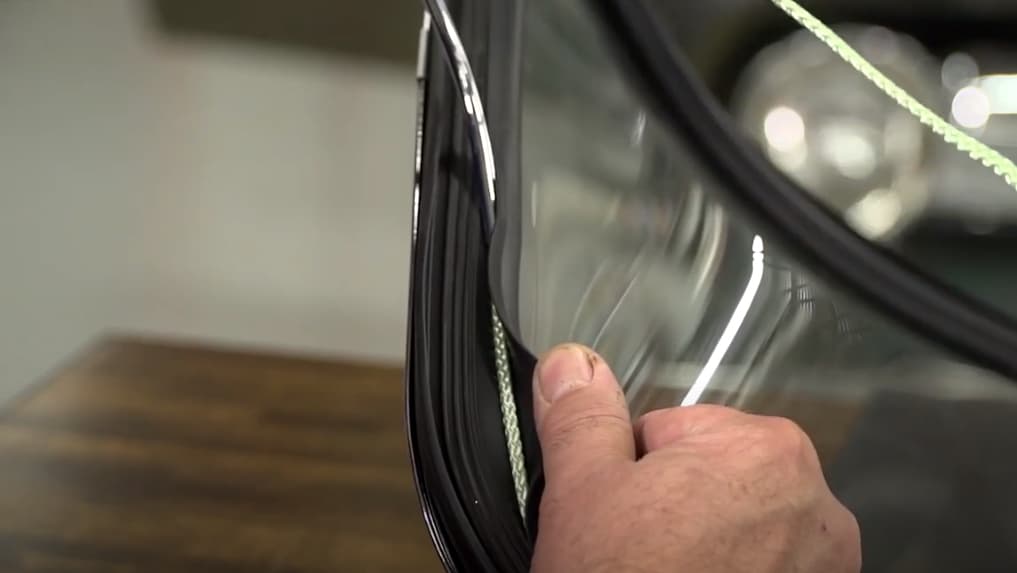
- Insert the windshield rope tool into the gasket.
Put a rope into the groove that goes to the body line. This rope is installed under the gasket lip this will aid in pulling the lip over the pinch weld when installing glass.
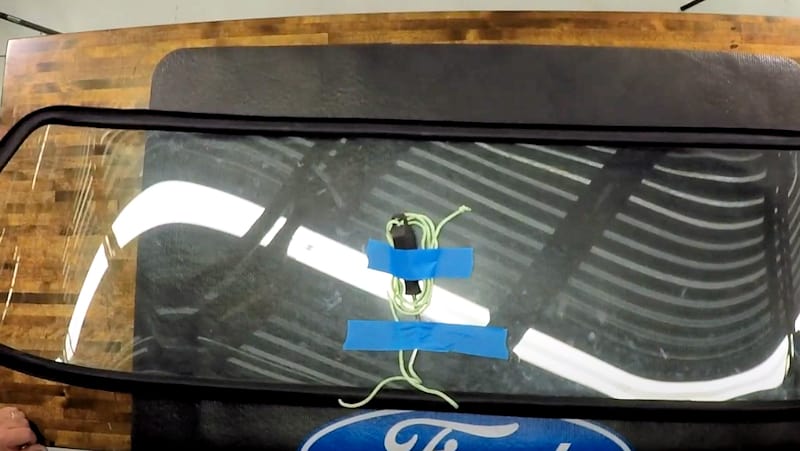
- Secure rope and tool with tape.
Overlap the rope at the bottom about six to eight inches and tape the excess rope and the tool to the inside of the windshield.
- Install the windshield.
Once the windshield is set on the outside one person should hold pressure on the outside while the other begins to pull the rope from the inside.
Keep pressure at the point where the rope is being pulled continue this process until the rope is completely removed from the gasket and the gasket lip is pulled over the pinch weld. It may be necessary to use a hook tool to pull the lip over the edge if it gets stuck.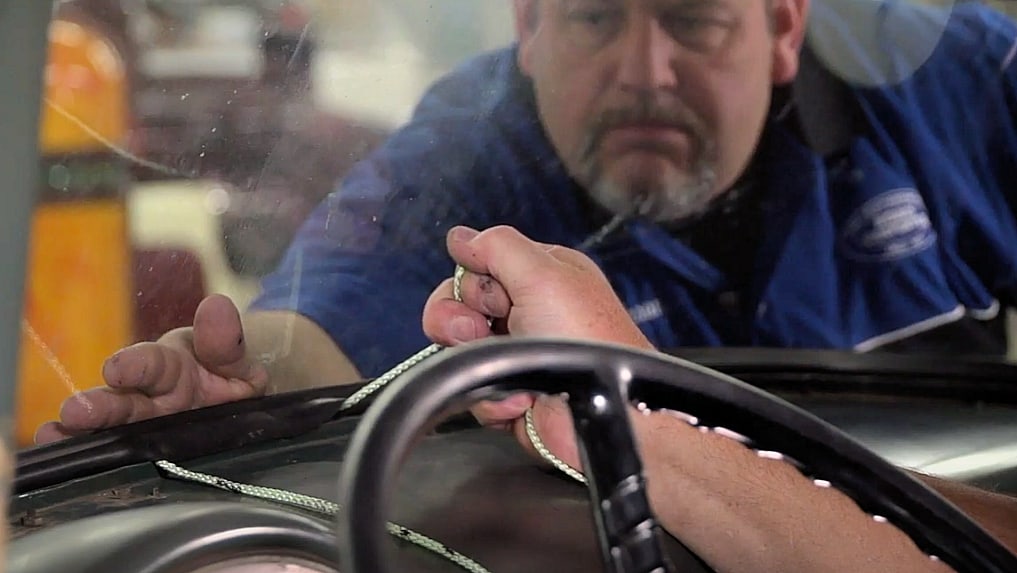
- Finishing up…
Continue alternating from left to right until you meet in the center top of the windshield. This will complete your gasket installation.
Replacing a windshield gasket in an F100, or any vehicle, can be a time-consuming job — If you’ve never done it before, give yourself a better part of a day to complete the job.
If you follow the steps like we’ve shown you you’ll be back on the road in no time.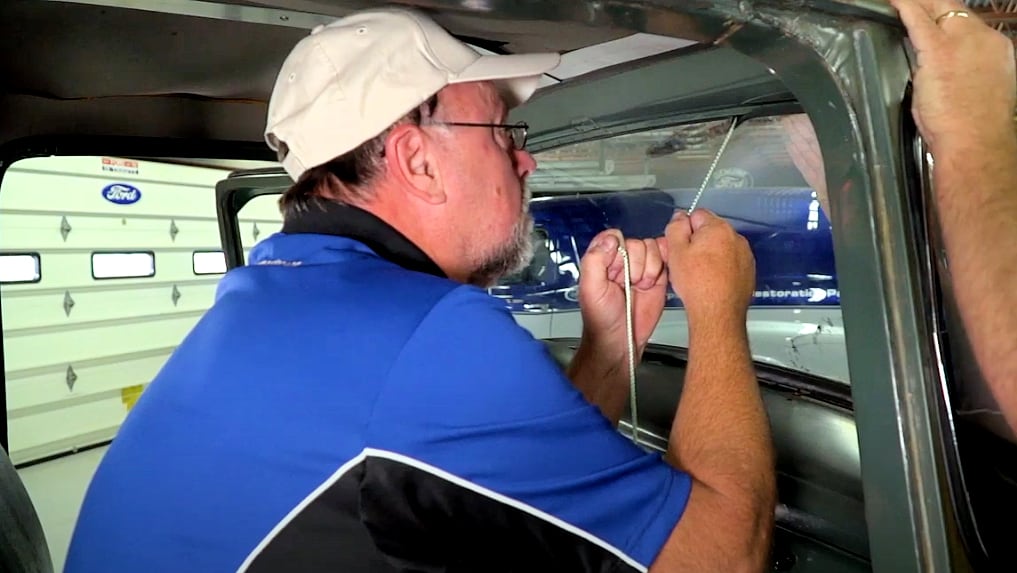
Windshield Seal Installation Demonstration
Watch as David and Jason install a windshield gasket step-by-step using a method that works on most cars and trucks from the 1930s to the late 70s…