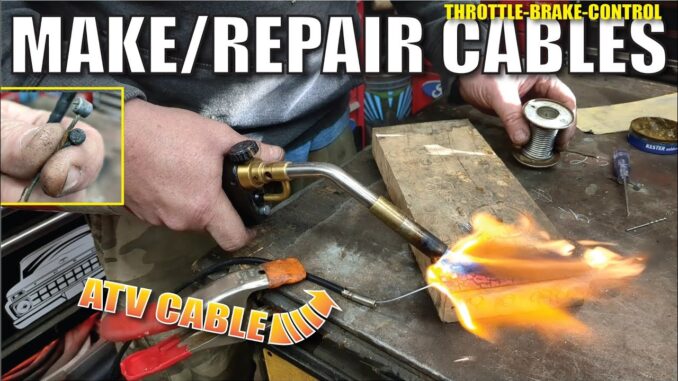
Motorcycle, ATV enthusiasts, and DIYers — get ready to dive into the fascinating world of crafting custom throttle, brake, and clutch cables, and much more! In this comprehensive guide, we’ll take you through the process of creating or repairing a motorcycle, ATV, or even bicycle and equipment cables, focusing on making a custom cable for a Suzuki’s compression release lever.
We get the frustration of being unable to find or quickly get the right replacement part, and we’re here to show you how to take matters into your own hands.
Why Custom Cables Matter
Motorcycle/ATV cables are essential components that ensure your bike functions properly. From controlling the throttle to applying brakes and shifting gears, they play a critical role in the overall performance and safety of your power sport vehicle. When stock cables become rusty or unavailable, knowing how to craft custom ones can save you time, money, and the hassle of searching for rare replacement parts.
The Basics of Making Custom Cables
Creating new cables from scratch may seem daunting, but it’s a surprisingly straightforward process. All you need are a few key components: the cable sheath, the inner cable, custom ferrules, and a retaining nub.
Here’s a step-by-step guide to crafting your custom motorcycle/ATV cables:
1. Gather Your Materials
Start by collecting the necessary materials:
- Inner Cables: Choose zinc-coated steel cables with a diameter of 1.5mm (1/16″).
- Cable Sheath: You can find bulk cable sheaths for bicycles or motorcycles, made of spiral round steel.
- Custom Ferrules: These are essential for securing the cable in place.
- Retaining Nub: The retaining nub is a crucial component for cable control.
2. Transfer Ferrules from Old Cable
If you have an old cable with intact ferrules, you can reuse them on your custom cable. Transfer the ferrules from the old cable to the new one.
3. Measure and Cut
Measure the desired length of your cable based on your vehicle’s specifications and the component it will connect to. Remember that the length of the inner cable is more critical than the sheath’s length, as you can adjust the sheath as needed.
4. Attach Ferrules
Slide the ferrules onto the new cable, ensuring they are firmly in place. If the ferrules are loose, consider slightly crimping or adding epoxy for extra security.
5. Create a Custom Nub
To craft a custom nub for your cable, follow these steps:
- Mark the location where you want the retaining nub to be on the cable.
- Drill a hole at this marked spot using a drill bit that matches the size of your retaining nub.
- Mark the desired depth of the hole with a piece of tape.
► RELATED: How To Repair a Throttle Cable with a Homemade Tool
6. Solder the Nub
Clean the cable’s end to remove any grease or contaminants. Use an acid flux to help the solder adhere to the steel. Insert the cable into the drilled hole, and apply flux generously to both the cable and the hole.
Now, take lead-based solder and melt it to create a secure connection. The solder should flow around the cable, creating a custom nub. Once it cools down, you can clean it up with sandpaper if needed.
7. Test Your Custom Cable
Before installing your custom cable on your vehicle, test it to ensure it’s secure and functions correctly. It’s crucial to make sure everything is working as expected.
With your custom cable in hand, you’re ready to tackle vehicle cable issues confidently, whether it’s a compression release lever for your Suzuki or other components. Creating custom cables is a valuable skill for any DIY enthusiast, providing you with the ability to keep your bike in top shape, even when the right replacement parts are hard to find. So, get out there and craft your custom cables!


