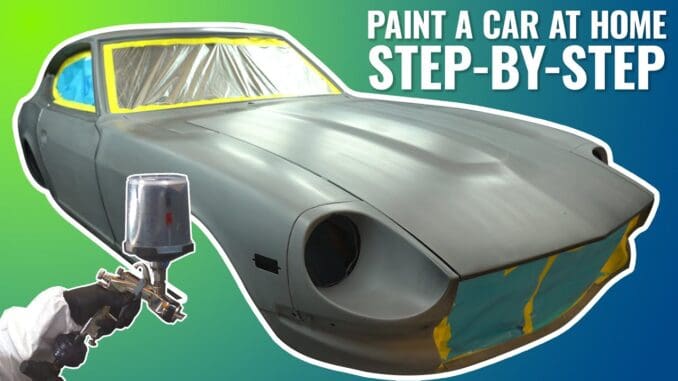
Restoring and refinishing a classic car can be an immensely satisfying and rewarding project for any automotive enthusiast. If you’re willing to put in the time and effort, you can transform your rusted and worn-out vehicle into a stunning show car that turns heads wherever it goes.
Below, we’ll take you through the step-by-step process of achieving that showroom-worthy finish for your car, from the initial prep to the final cut and buff.
By following these step-by-step guidelines, using high-quality products, and taking your time, you can achieve a show-stopping finish for your car. The satisfaction of seeing your once-tired vehicle transformed into a gleaming show car will make all the hard work and effort well worth it. So, get started on your car bodywork and paint project and showcase your masterpiece on the road!
Grab your tools, roll up your sleeves, and let’s dive in!
Step 1. Initial Prep: Stripping to Bare Metal
The first and a crucial step in any car restoration project is to assess the condition of your vehicle’s bodywork. If you’re unsure of what’s hiding beneath the paint, it’s best to start with a clean slate. Begin by stripping the car to bare metal using a combination of tools, including DA Sanders, Surface Conditioning Tool (SCT), and chemical stripping. This process will reveal any hidden imperfections, such as old body filler or rust, that need attention.
After the car is stripped, ensure proper metal conditioning by going over the entire surface with an SCT or a DA with 80-grit paper. Once you’ve achieved a clean and rust-free surface, apply a couple of coats of epoxy primer over the entire car. This primer serves as a protective layer to prevent rusting and provides a smooth base to work on during the next steps.
Step 2. Filler: Smoothing Out Imperfections
After the epoxy primer has cured for at least two to three days, it’s time to move on to the filler stage. Use pre-painting prep to remove any dust and contaminants from the panel. You’ll likely have an idea of problem areas that require attention, such as old repairs or dents. Block sand the entire car with 80-grit sandpaper in a cross-hatch pattern to reveal highs and lows across each panel.
Now comes the process of applying body filler. You have two options: spot repair or skim coating. Spot repair involves adding filler only to the low spots, while skim coating entails applying a thin layer of filler over the entire panel and sanding most of it off. You can choose whichever method suits your preference. Use the Contour DSB (Dustless Sanding Block) to collect dust while sanding filler, keeping your work environment cleaner and more efficient.
Step 3. Primer: Sealing the Bodywork
Once you’re satisfied with the bodywork and filler, it’s time to apply primer. Opt for a high-quality epoxy primer like Optiflow epoxy primer, which offers excellent adhesion to both metal and filler. Apply two coats of epoxy primer, allowing it to cure properly before blocking the car with 320-grit sandpaper. This step allows you to evaluate the car’s straightness and identify any remaining imperfections.
After the final blocking, consider using a polyester primer to fill in the remaining sanding scratches and surface defects. Three full coats of polyester primer, applied with proper gun settings, will ensure a smooth surface, ready for the next step.
Step 4. Cut In: Painting the Jams and Edges
Now that the car’s body is primed, it’s time to paint the jams and edges that won’t be accessible once the car is fully assembled. This step involves removing doors, deck lid, and opening the hood to reach these areas. Mask and tape up the car to prevent overspray on the interior and underhood.
Using your chosen paint, start by spraying the color on the edges and then move on to the jams. Afterward, apply clear coats following the same method as in the previous painting steps. Ensure to maintain a wet edge while spraying for a smooth and even finish.
Step 5. Paint: Applying the Final Coat
With the jams and edges painted, the car is reassembled and ready for its final coat of paint. Before proceeding, remove any overspray using 600 grit on a DA sander and prepare the surface for the final paint application. Wipe down the car, and then tape up everything you don’t want paint on, such as windows and underhood.
Now, apply the base coat with your paint gun using the settings determined in the test panel. Follow it up with two coats of clear coat, allowing sufficient flash time between each coat. This final step will bring your car’s color and finish to life.
Step 6. Cut and Buff: Bringing out the Shine
The last step in achieving a flawless show car finish is cutting and buffing. Address any runs, orange peel, and dirt by dry sanding with 800 grit and wet sanding with 1500 and 2000 grit. Once the surface is smooth, use a three-step system to restore the shine, starting with an aggressive cutting compound and wool pad, and finishing with foam pads and polishing compounds.


