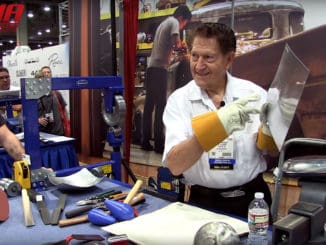
Modifying your driveshaft may be necessary due to the various engine and transmission combinations. Here’s a step-by-step guide on how to do it efficiently. For this task, we’ll need specific tools to facilitate the process.
To begin, we recommend using two specific tools — the first is an air hammer attachment designed to drive the u-joint cap down onto the yoke. This tool eliminates the need for the hammer and socket method. The second tool is a pair of u-joint snap ring pliers, which will make removing the rusted-in-place u-joint caps much easier.
Keep in mind that this modified driveshaft will only serve as a temporary solution until you can move on to stage 2 and purchase a high RPM fully balanced driveshaft. However, there are a couple of things you can do to ensure the accuracy of the job.
To maintain the balance of the driveshaft and keep the u-joint yokes aligned, make a mark along the length of the driveshaft. Additionally, mark the two-inch section that will be cut out. Once you’ve ensured the tube is level and perpendicular to the saw blade, proceed with making the cuts. It’s important to avoid modifying the area closer to the yoke, where the weights are attached, as well as work on the larger diameter section to increase weld strength.
Using a red scuff pad, clean the area thoroughly to ensure a proper weld. Then, create a slight bevel on the end of the tube to enhance weld penetration. Another handy tool is the magnetic ground clamp attachment, which helps hold everything in place during the tack welding process.
Before the final welding, measure for runout using aluminum v blocks and a dial indicator. To minimize rolling resistance and improve measurement accuracy, remove any surface rust and apply a small amount of grease to the area where the driveshaft will be spun.
While ideally you want no runout, a general guideline is to aim for less than five or six thousandths of an inch. Once you’re satisfied with the runout measurement, proceed with fully welding the driveshaft together. Remember to work on small sections at a time to prevent warping. You can use a MIG welder for this task, but a TIG welder offers finer heat control, which is beneficial given the thin wall thickness of the tubing (about a sixteenth of an inch).