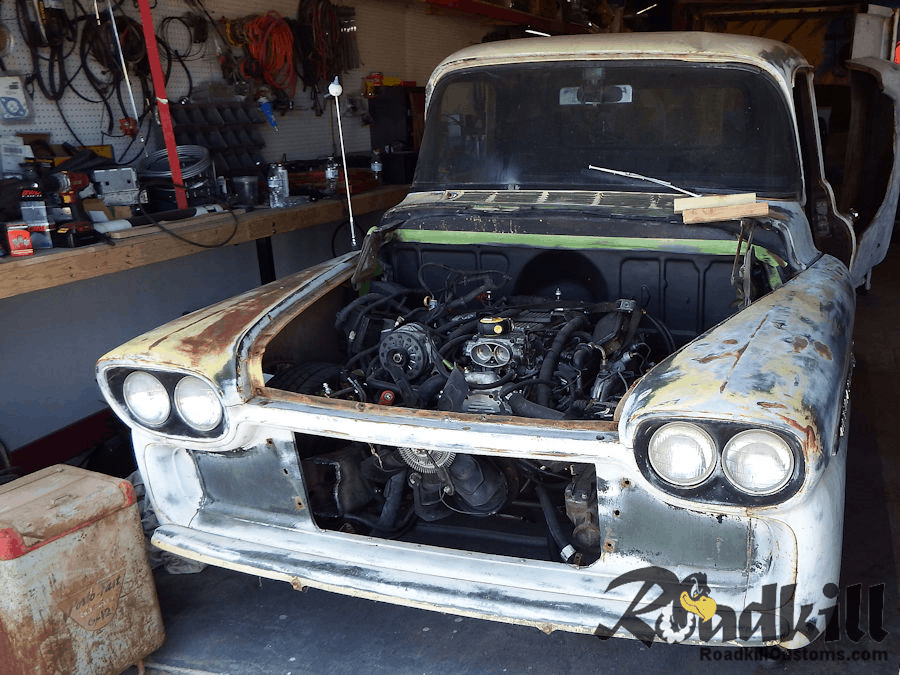
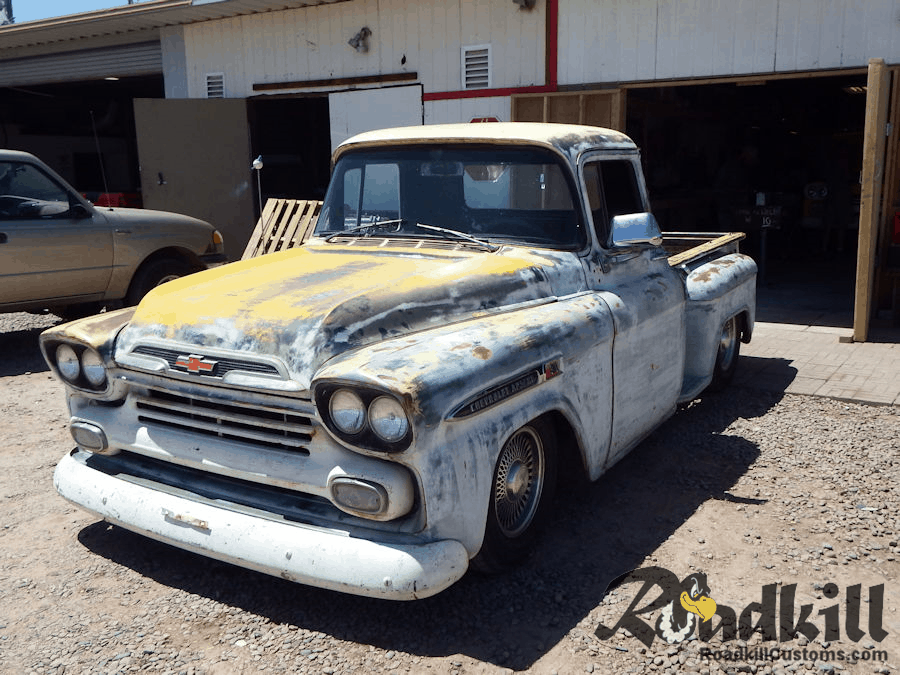
The gentleman that purchased the 1959 GMC Fleetside, our first B-Body chassis / body swap came back to us an basically asked for a clone.
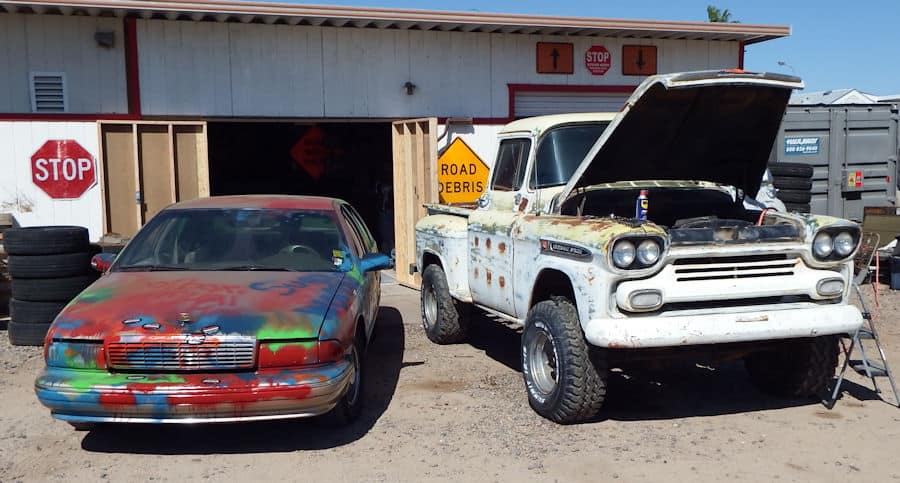
He brought us a running 125K mile Chevrolet Caprice donor and a 4 Wheel-Drive 1959 Chevrolet Apache and told us to get busy, so we did…
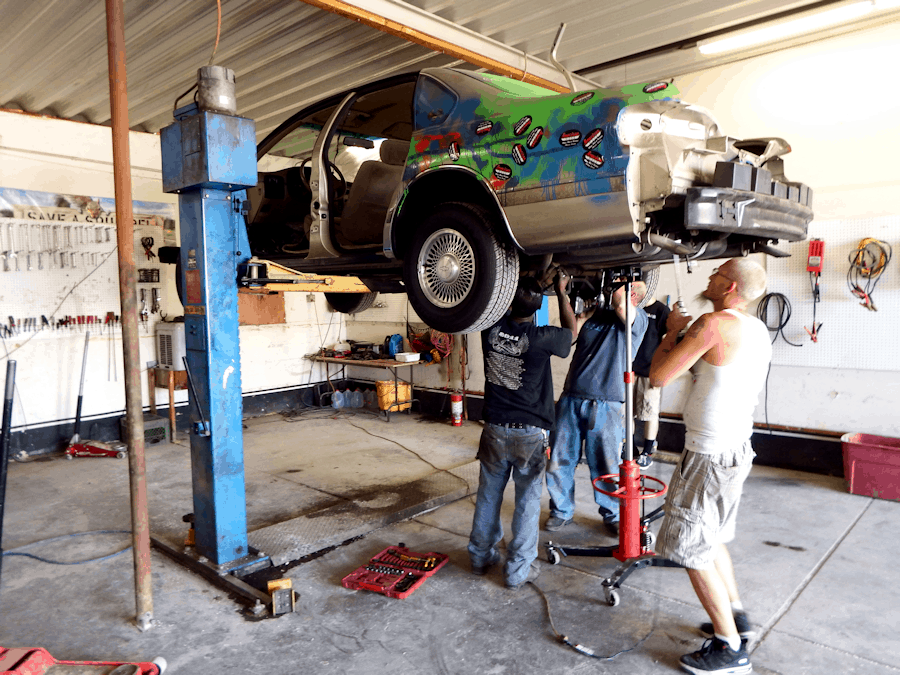
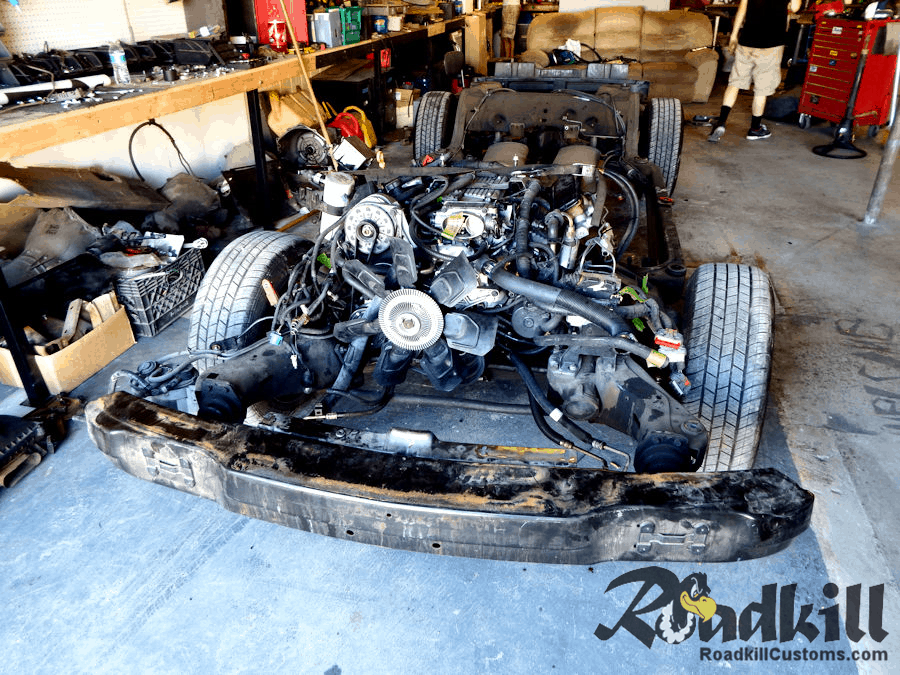
The teardown of the donor car goes quickly.
There’s little difficulty breaking things loose, and with the number of these swaps we’ve done, we can have the wiring harness out whole and body off in less than 90 minutes.
Oscar, our ’56 Ford COE/U-haul Truck Swap helps dispose of the donor car body.

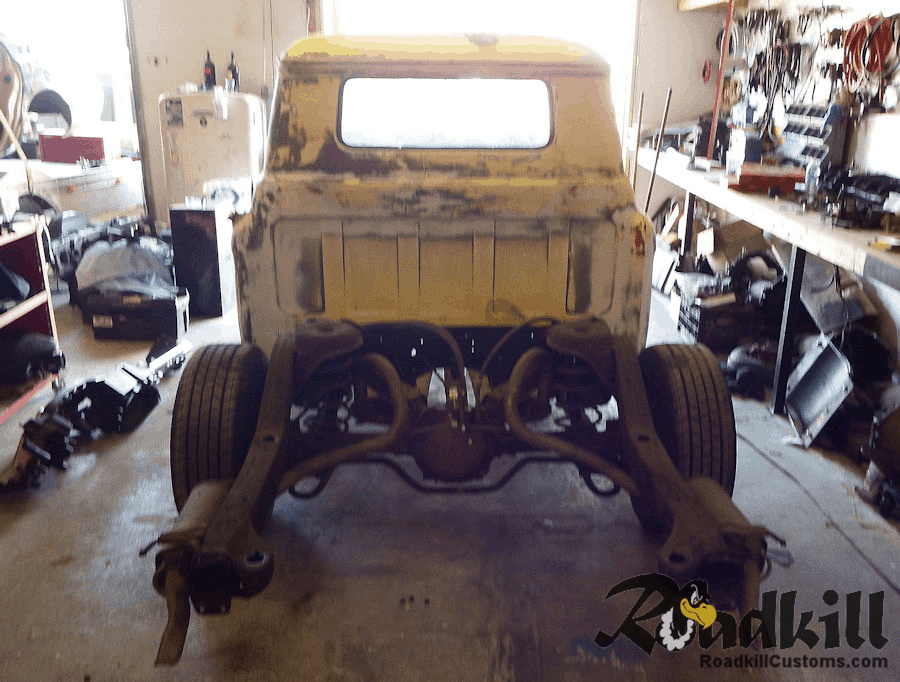
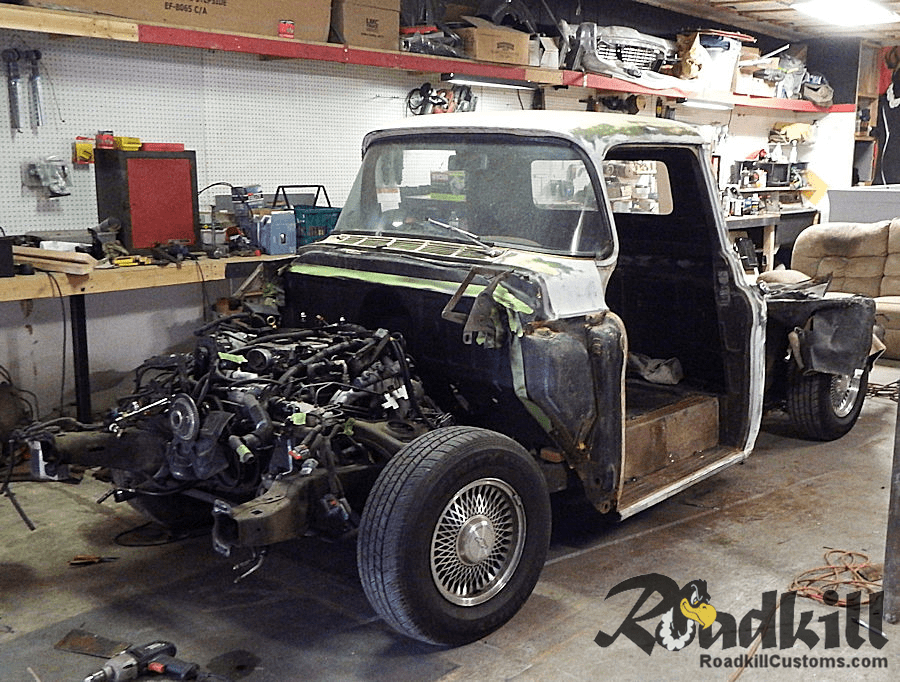
Beginning to tear down the ’59 Apache. In this photo, we’ve already cut the steps out so the cab fits outside the chassis rail.
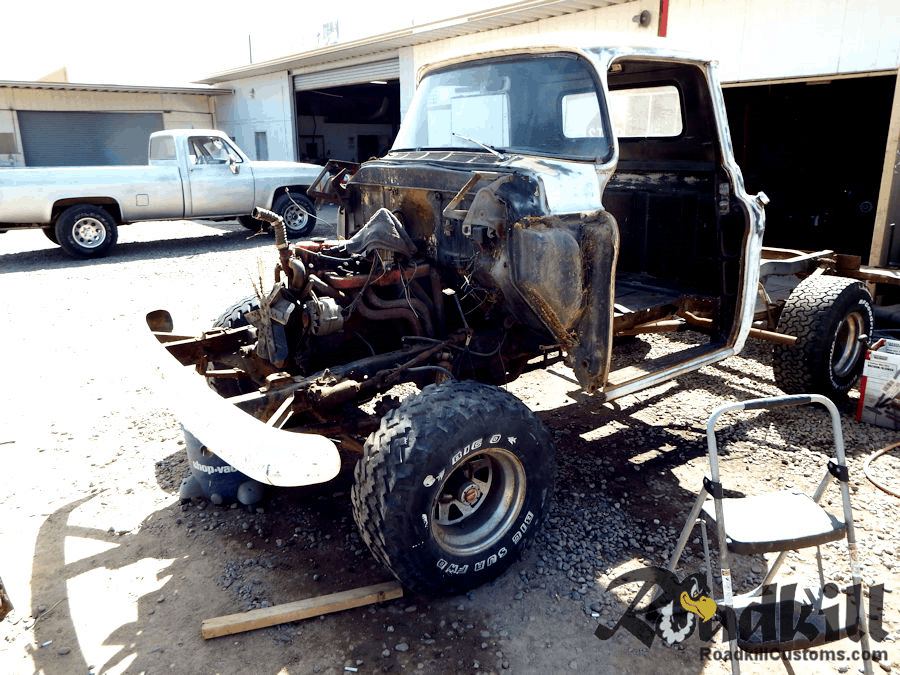
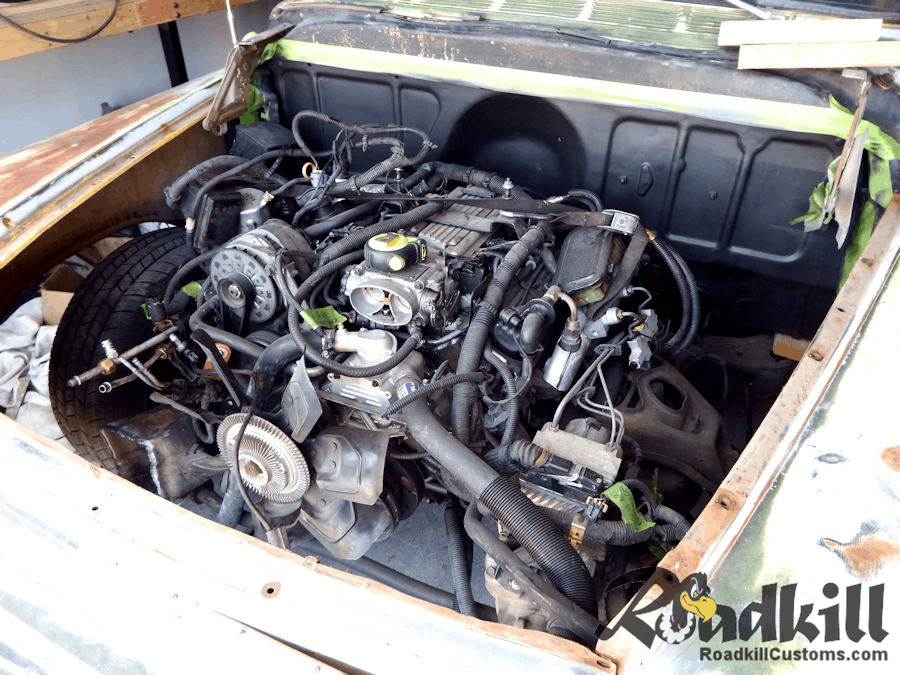
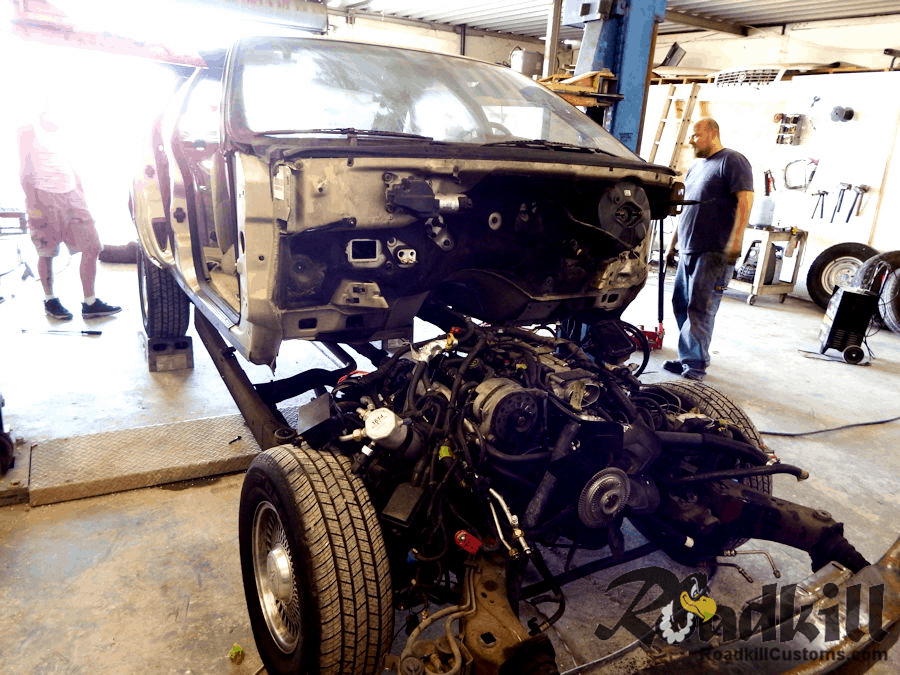
The initial placement on the chassis. Note that the engine end of the wiring harness stayed with the engine — there’s simply no need to disconnect it.
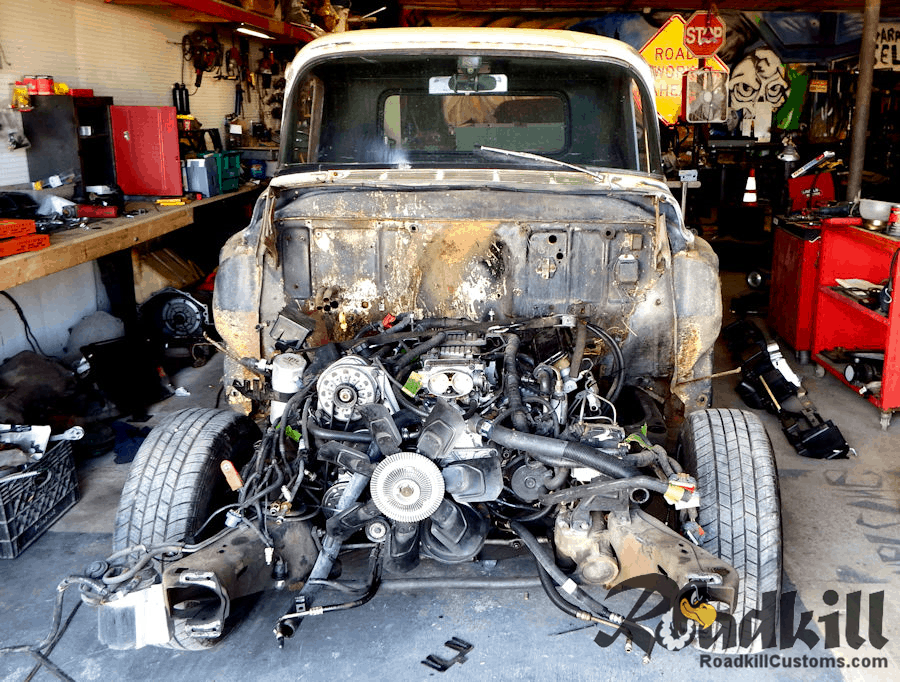
The cab tipped up so we can do some minor trimming to get the cab to lay down nicely on the frame rails. The body mounts we use in these builds are not complicated. We located a welded in bung below the original ’59 cab body mount in the donor frame rail with a hockey puck (or two, or three, depending on stance desired) in between.
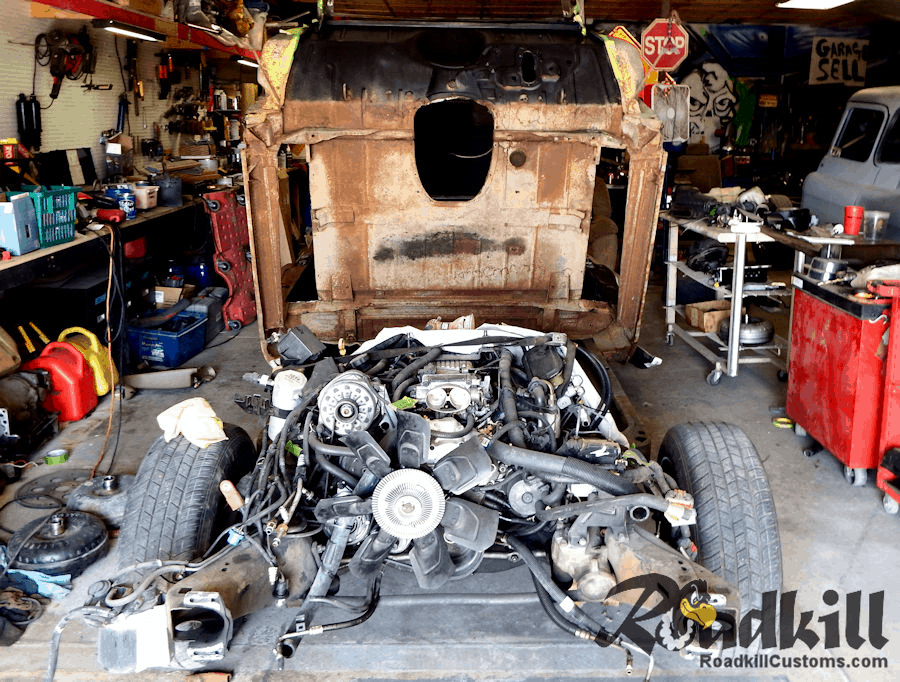
The cab cut and placed.
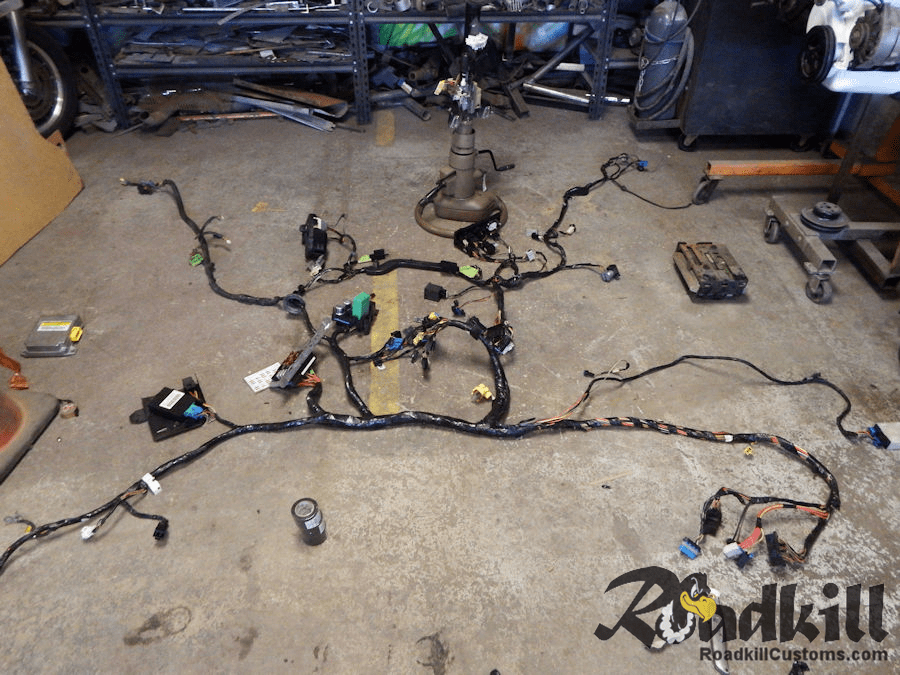
Moving on to the wiring harness and gauges…
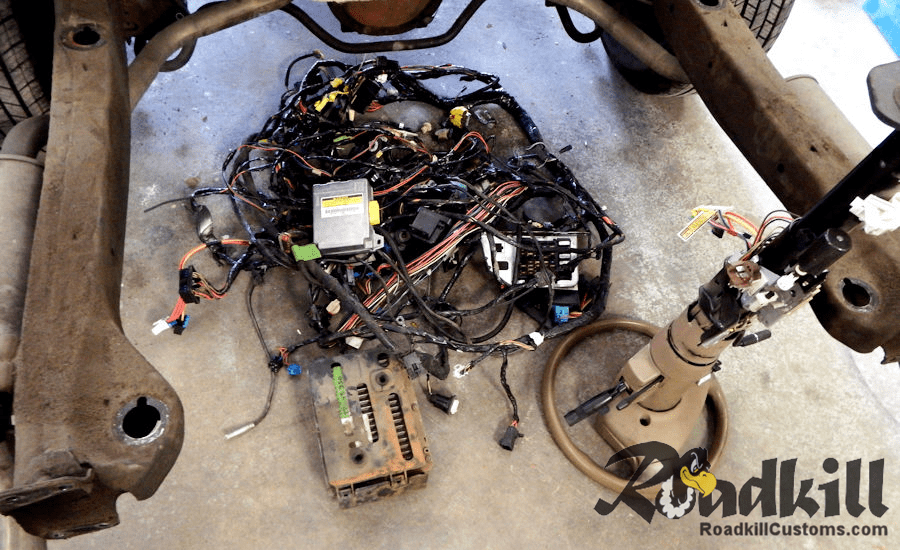
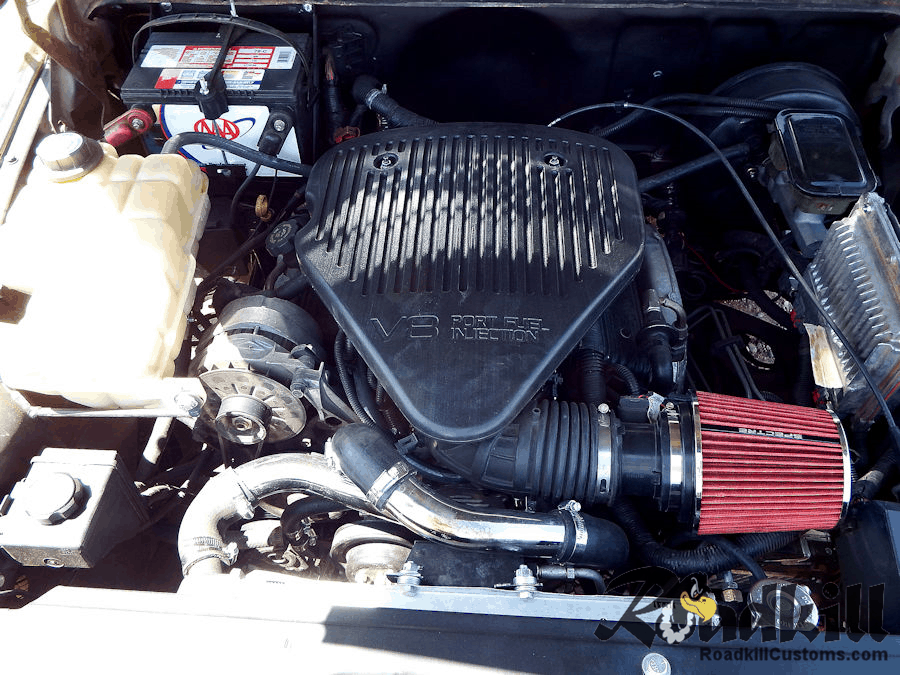
Layed out, it is a lot less daunting. The bulk of the harness fits up under the dash. The computer is mounted under the hood.
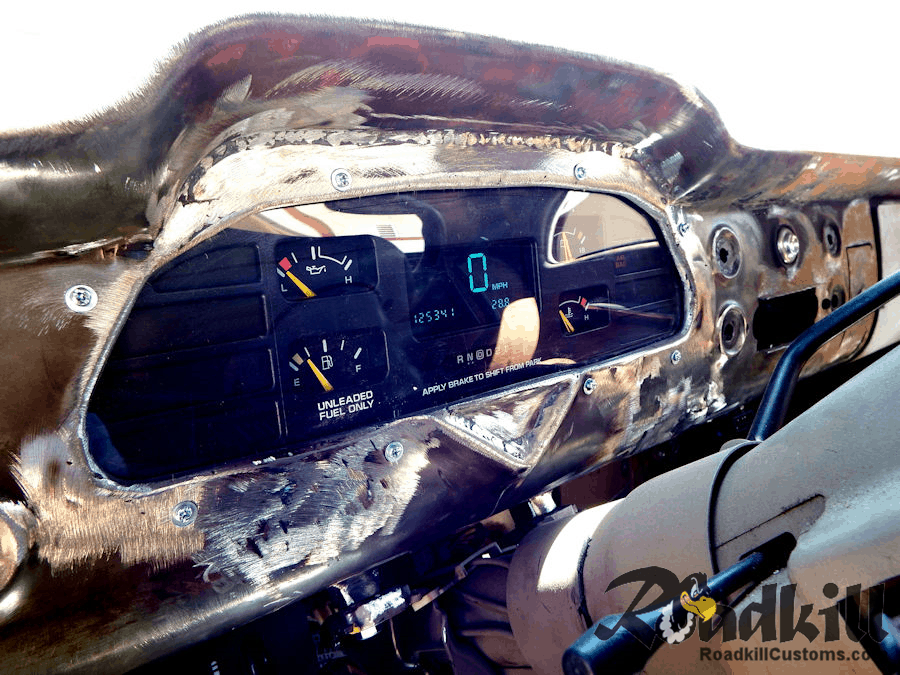
The gauges from the donor car have been worked into the Task Force series truck dash. The headlight switch from the donor will also be mounted.

Power!
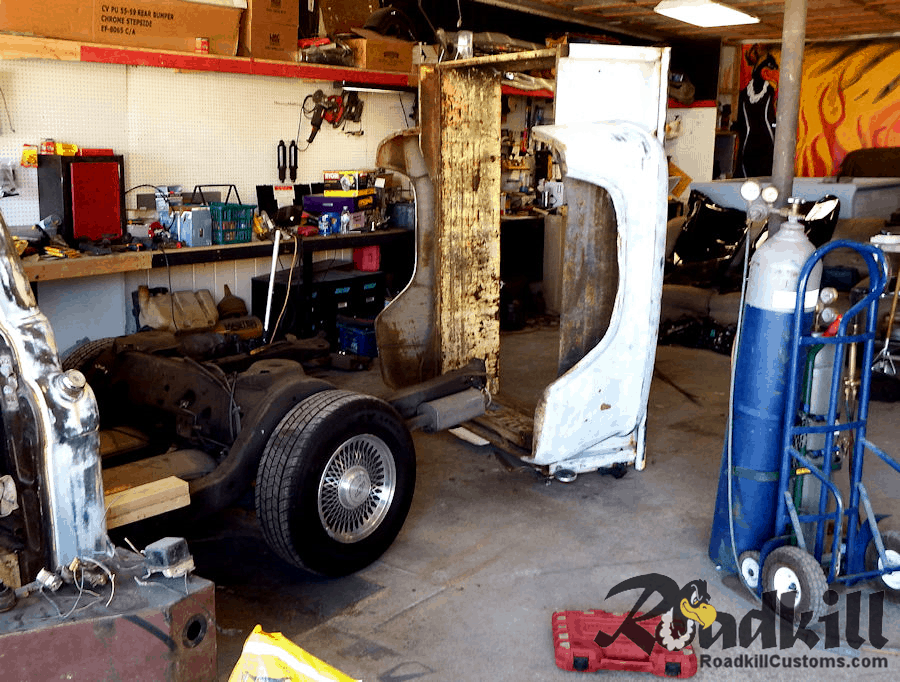
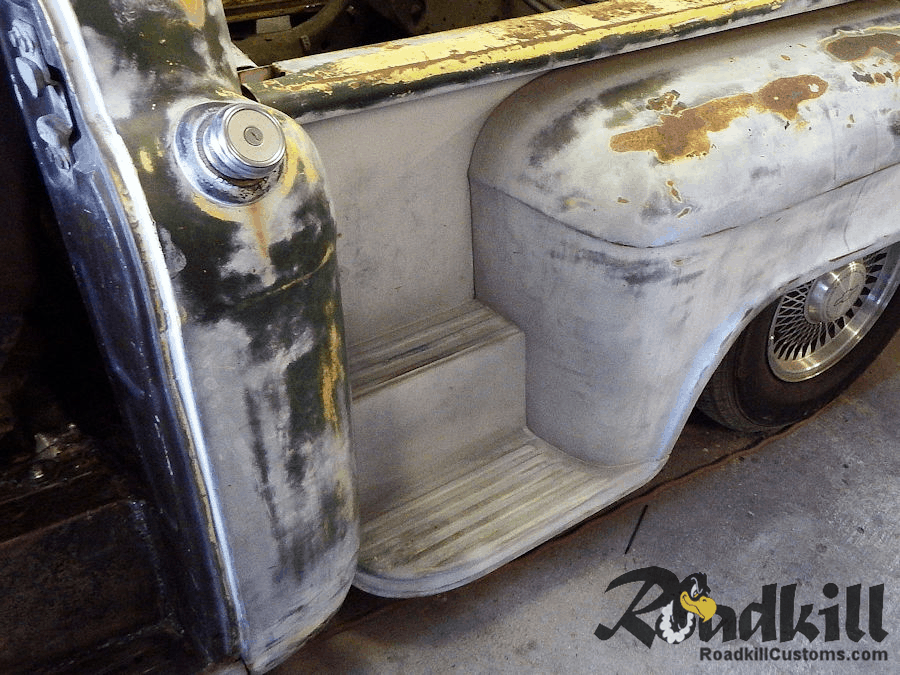
We’ll work the wires back towards the firewall connections. Also note the step now tacked back into place after cutting, swapping sides, and flipping the piece.
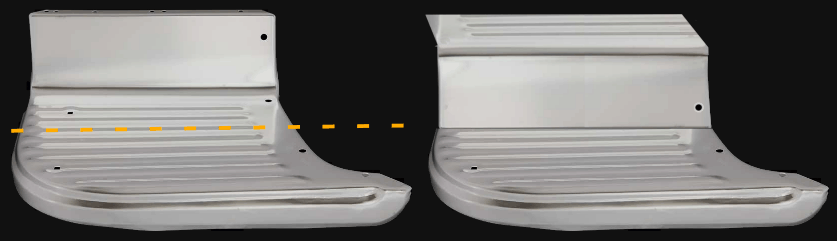
Back to the body, let’s make the bed fit. The only section of the bed that needs to be modified is at the step — it needs to be notched around the frame rail. alternatively, the chassis can also be narrowed, however, for this project, the budget called for a body mod instead of chassis mod…
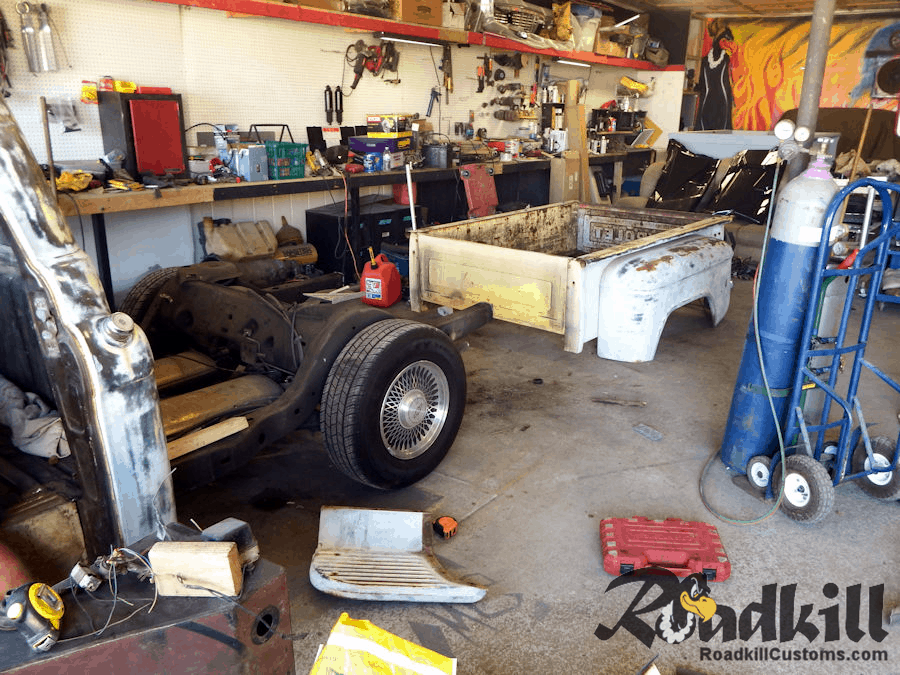
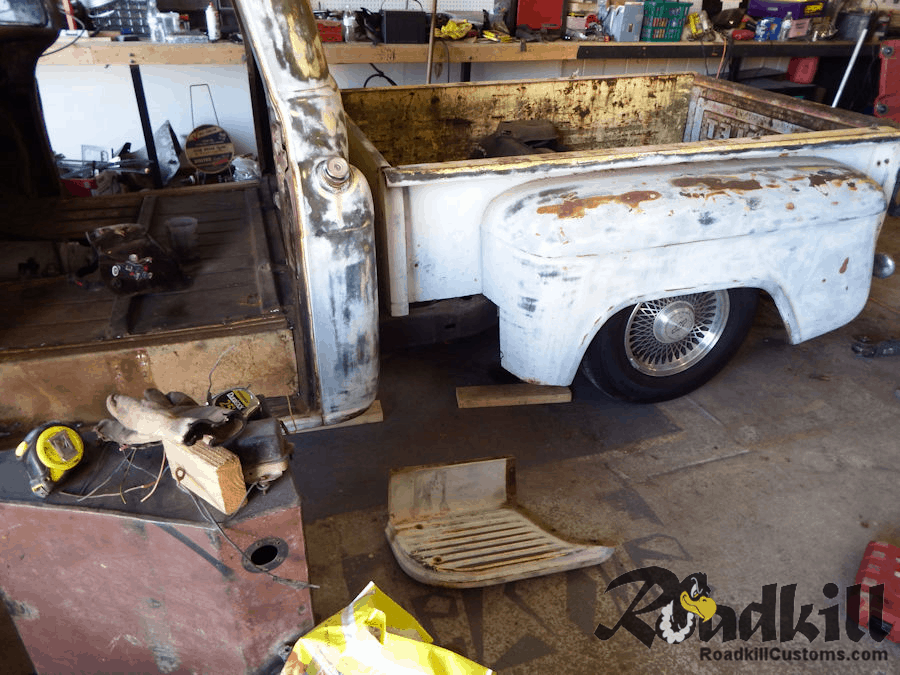
Cut the step between the 5th and 6th raised rib from the outside of the step. Once removed, rotate the piece towards you 180 degrees, tack, then weld into place once test fitted.

Now let’s get this beauty running!