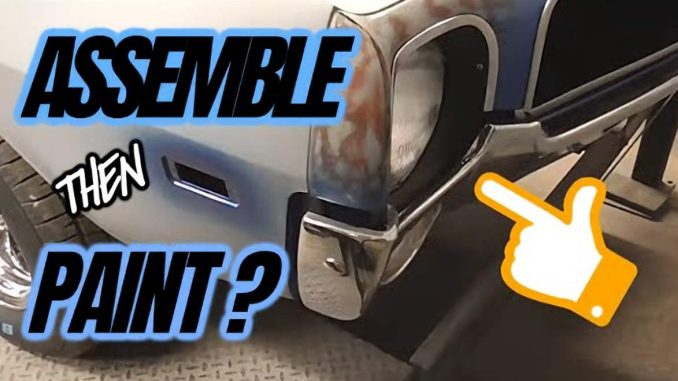
When it comes to refinishing a vehicle, every auto body technician eventually faces the same question: Should you paint the parts first and then assemble them, or assemble the vehicle first and paint it afterward?
In a recent video from Lakeside Autobody, the shop walks through both approaches and explains why assembling before paint—followed by careful masking—can often save time, frustration, and even the paint job itself.
Two Paths to a Finished Paint Job
The traditional method that many painters learn is to paint components individually before installing them. It sounds logical—you avoid getting paint on the wrong surfaces and have full access to every edge.
But there’s a downside: assembling a freshly painted part is a gamble. Even a perfectly cut-in panel can get scratched or chipped as you wrestle with handles, moldings, and trim that don’t want to cooperate.
The alternative? Assemble the vehicle first, mask it thoroughly, and then spray it. According to Lakeside Autobody, this method was a shop requirement under a previous boss—and it ended up being a game-changer. With good masking skills, the results were clean, consistent, and far less risky.
A Door Handle That Tells the Whole Story
One example in the video highlights just how unpredictable pre-paint assembly can be. The driver-side door looked perfect and was already cut in, but when the handle was installed, it simply didn’t fit. The technician had to remove it, add filler, re-prime, re-cut the area, and reinstall the handle—wasting time and risking damage to the paint.
By assembling first, the part could be test-fit, adjusted, and perfected without the stress of protecting fresh paint. After installation, it was simply masked off and sprayed with zero risk of scratches.
Trim, Moldings, and Other Trouble Spots
The same logic applies to rocker moldings and window trim—the kinds of components that rarely cooperate the first time. The video shows rocker moldings that needed drilled holes and subtle reshaping before they sat correctly. Doing this after the vehicle is painted is practically a recipe for scratches.
Window trim presents another classic challenge. In this case, the installer had to drill a hole dangerously close to the glass just to get the trim to clip into place. The drill bit left scratches, but because the vehicle wasn’t painted yet, they didn’t matter. Once fitted, the part was removed, the area cut in, reinstalled, and then masked for paint.
Masking Done Right
A major focus in the video is proper masking technique. The painter positions tape so it never directly touches the painted surface. Instead, the tape sits slightly lifted, allowing paint to “slip” underneath and create a seamless finish when the tape is removed.
Door handles, tail lights, bumper trim, and even scuffed edges all get masked using this method. The end result looks clean, professional, and factory-tight.
Cut-Ins and Jambs
Door jambs are cut in ahead of time—before the masking and final paint session. Once the jambs are sprayed, they’re masked off, enabling the painter to finish the outer surfaces without overspray or uneven lines.
Both Methods Work—But One Is Easier
Lakeside Autobody emphasizes that both techniques are valid. Some shops prefer painting components separately, while others swear by assembling first and painting afterward. It all comes down to skill, workflow, and personal preference.
But for the tech in the video, assembling before painting wins every time. It dramatically reduces frustration and nearly eliminates the heartbreak of scratching brand-new paint during assembly.
Final Thoughts
Reassembly on a freshly painted vehicle can feel like defusing a bomb—one wrong move and you’re fixing damage you just finished repairing. By assembling first and painting second, many of these headaches disappear. As the video puts it, there’s “nothing worse than scratching new paint trying to get a part to fit.”


