Here’s what you’ll need to get started:
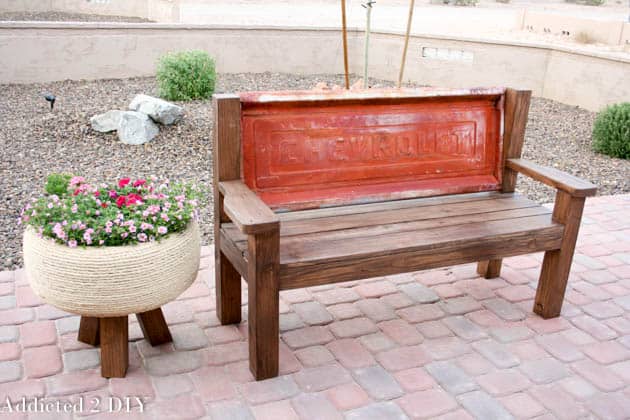
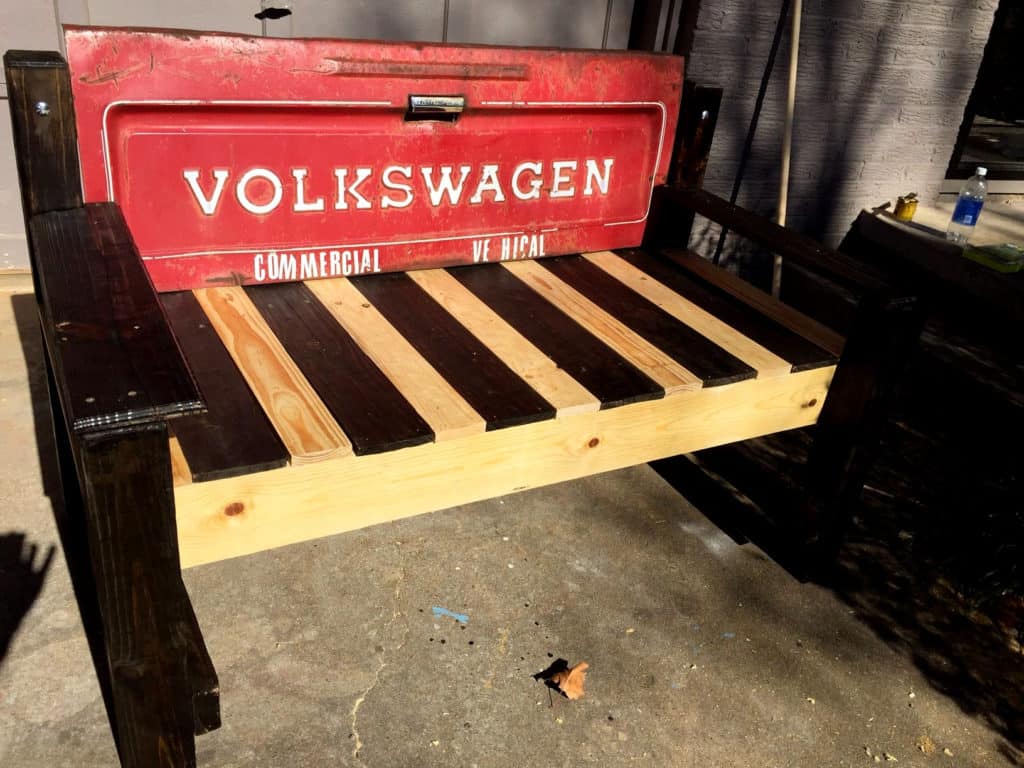
Keep in mind this is for the tailgate I had, which was 50 3/4″ x 19 1/2″. If yours is bigger or smaller, adjust the length of the bench accordingly.
Supply list:
- 2 – 4×4 @ 8′ long
- 2 – 2×4 @ 8′ long
- 3 – 1×6 @ 6′ long
- 1 – 1×4 @ 6′ long
- 2×6 @ 8′ long
- kreg jig
- 2 1/2″ pocket screws
- brad nailer
- 1 1/2″ brad nails
- wood glue
- 2 1/2″ deck screws
- miter saw
- jigsaw
- 2″ lag bolts
- washers
- 2″ angle brackets
- Tailgate
Cut list:
- 2 – 4×4 @ 37.5″ (back legs)
- 2 – 4×4 @ 23 1/4″ (front legs)
- 2 – 2 – 2×4 @ 13.5″ (side rails)
- 2 – 2×4 @ 50 3/4″ (front and back braces)
- 2 – 2×4 @ 17 1/2″ (center supports)
- 3 – 1×6 boards @ 57 3/4″ (bench seat)
- 1 – 1×4 @ 57 3/4″ (bench seat)
- 2 – 2×6 @ 18″ (armrests)
More Inspiration:
Vehicular Furnishings, Automotive Decor, and Car Part Art

Drill 1 1/2″ pocket holes into side rails, front and back braces and center supports. Mark the front and bag legs 17 1/4″ from the bottom of the legs. Clamp and attach the side rails with the bottom of the rail on that mark using wood glue and 2 1/2″ pocket screws. Do the same for the other side.

Like the side rails, mark the front and back legs again at 17″ from the bottom of the leg and attach to the front and back legs with wood glue and 2 1/2″ pocket screws.

Measure 16″ in from each leg and attach the center supports with 2 1/2″ pocket screws.

For the seat, notch out the front 1×6 and the back 1×6 on each end to fit around the 4×4 legs. This can be done with a jigsaw. I love using my Blade Runner for these types of cuts.

I attached the front and back 1×6 boards using wood glue and 1 1/2″ brad nails.

I evenly spaced out the 1×6 and 1×4 boards between the front and back boards and also glued and nailed them down with 1 1/2″ brad nails.

I cut the arms and free-hand drew the shape I wanted them to be. I traced that same shape onto the second arm and then used my Blade Runner to shape them.

I sanded the corners down on my belt sander and then also finished shaping the narrow part of the armrest on the belt sander. If you do not have a belt sander, then you can cut the corners on your jigsaw or Blade Runner and then sand them with an orbital sander. I rounded the edges off with my orbital sander.

To attach the armrests, I drilled 1 1/2″ pocket holes into the side that attaches to the back legs and used 2 1/2″ pocket screws to attach them. Then I drilled 2 1/2″ deck screws down into the top of the armrest to attach to the front legs.

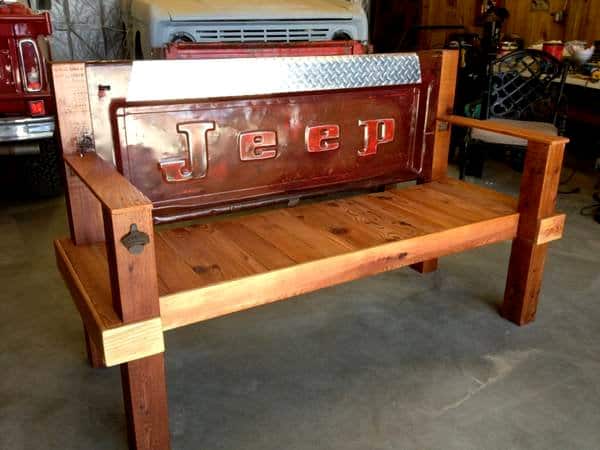
I stained the bench with Behr semi-transparent weatherproofing wood stain. I was able to do it with just a couple of sample-sized cans.
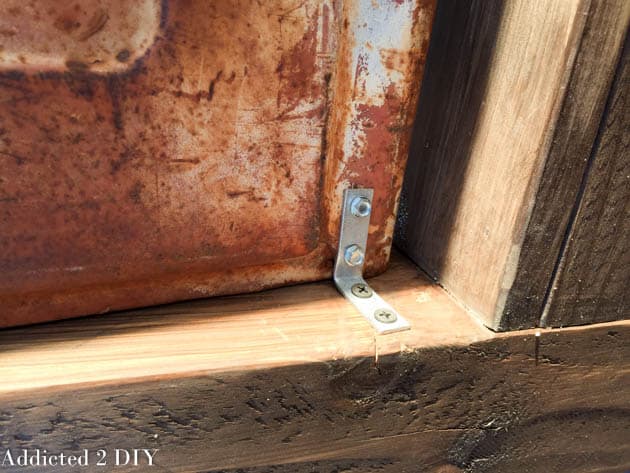

To attach the tailgate to the bench, I used 2″ lag bolts at the top of the tailgate and 1 1/2″ corner braces. I know it wasn’t ideal to have to drill holes into the bottom of the tailgate, but I couldn’t find any other way to attach it. Hopefully all of the classic car/truck enthusiasts can forgive me. Tutorial Source: Addicted2DIY
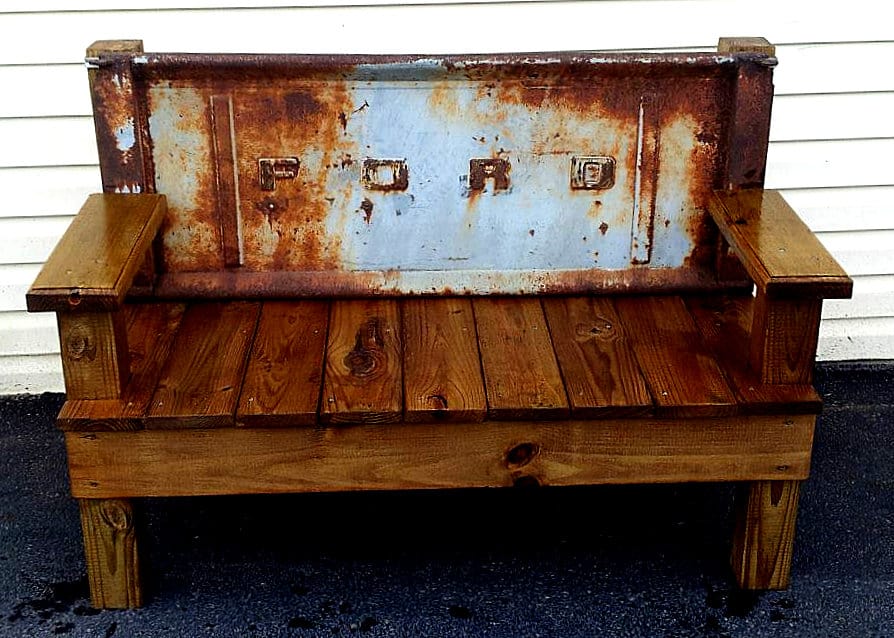
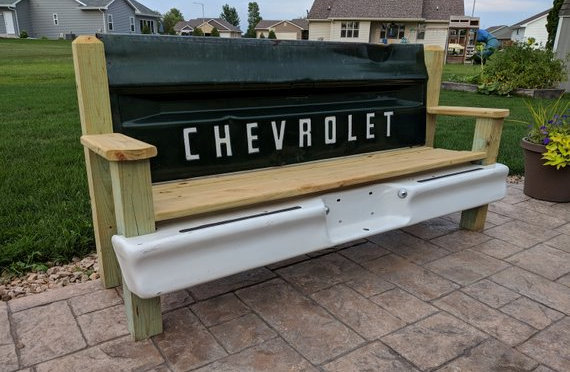
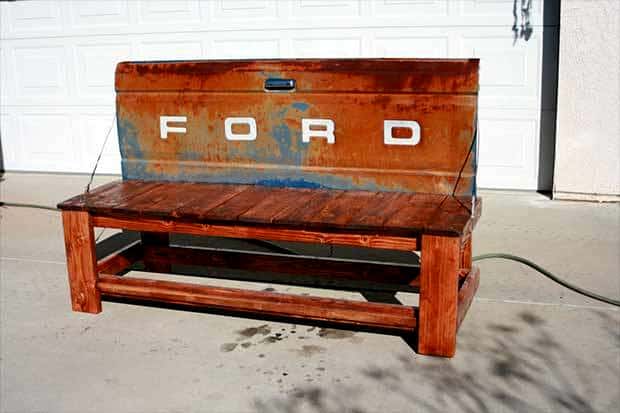
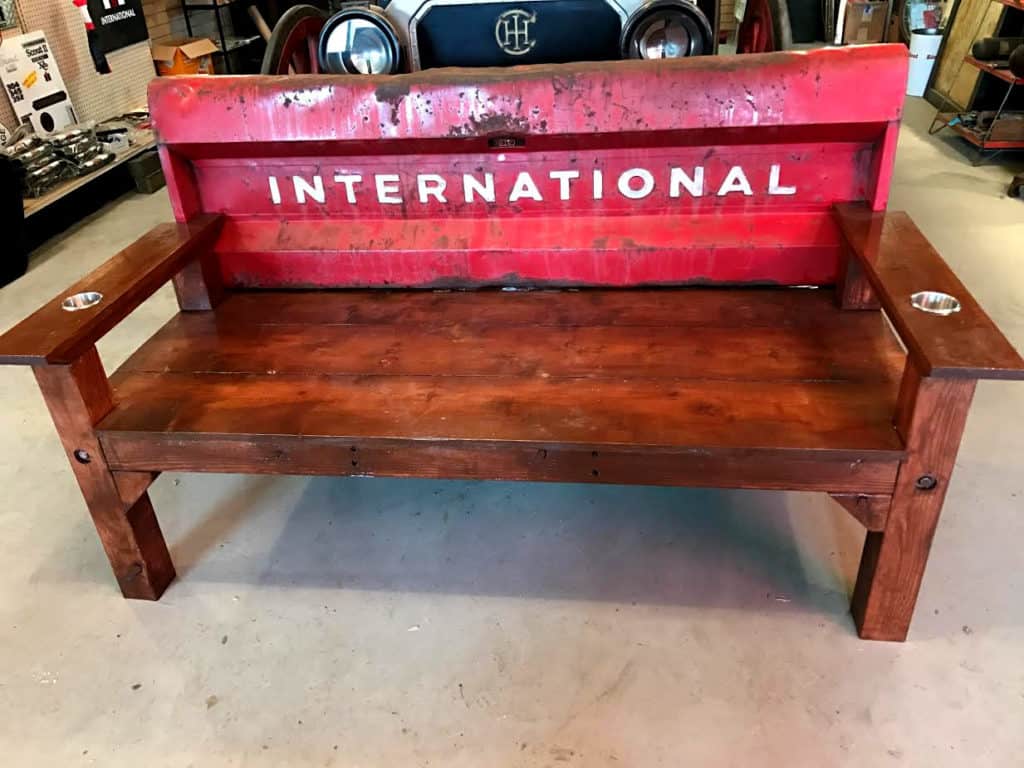
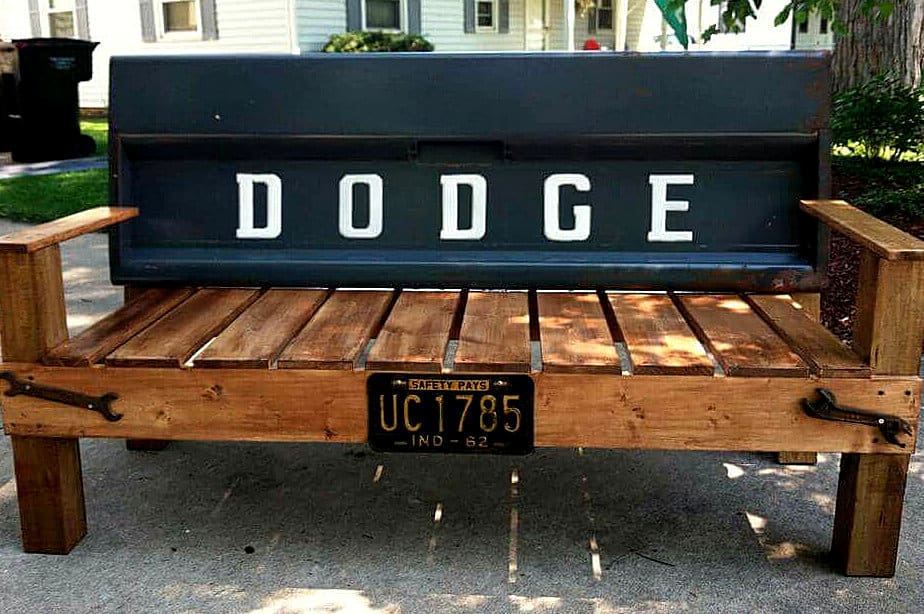
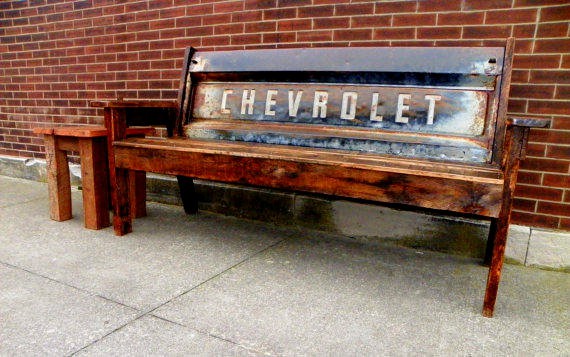
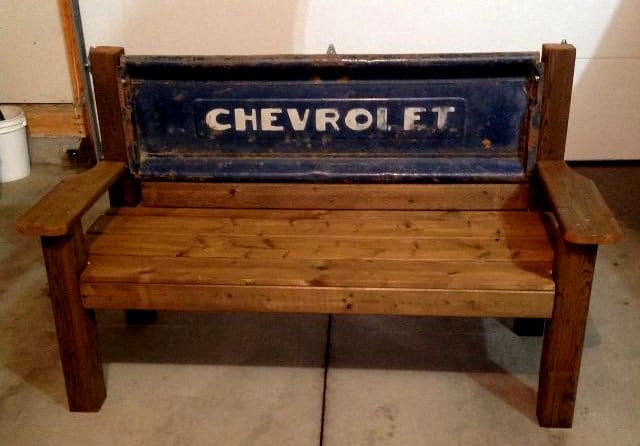
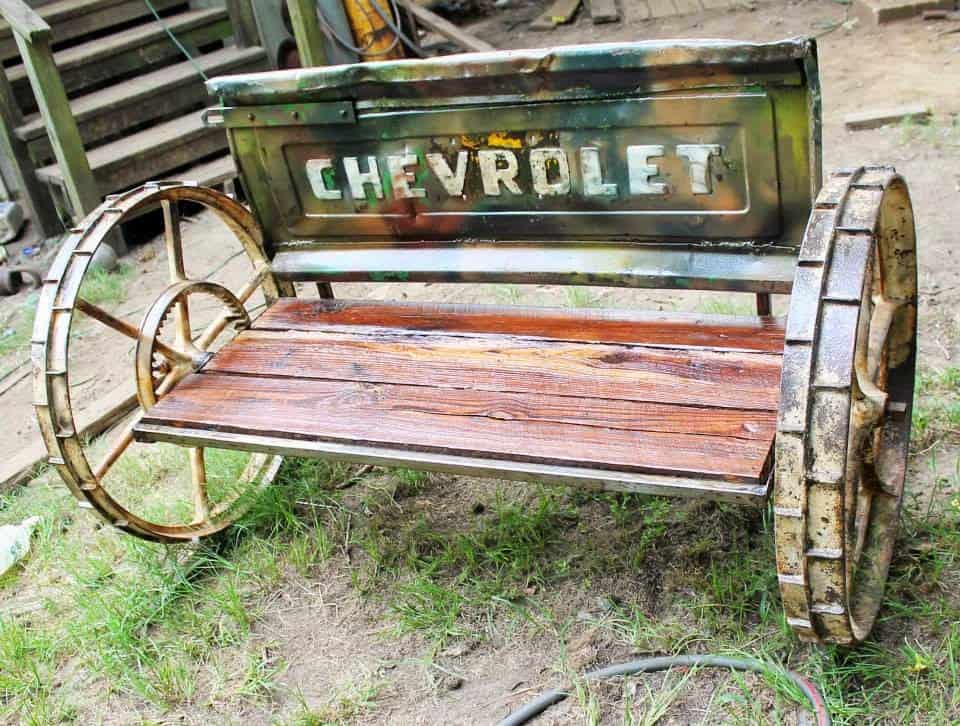
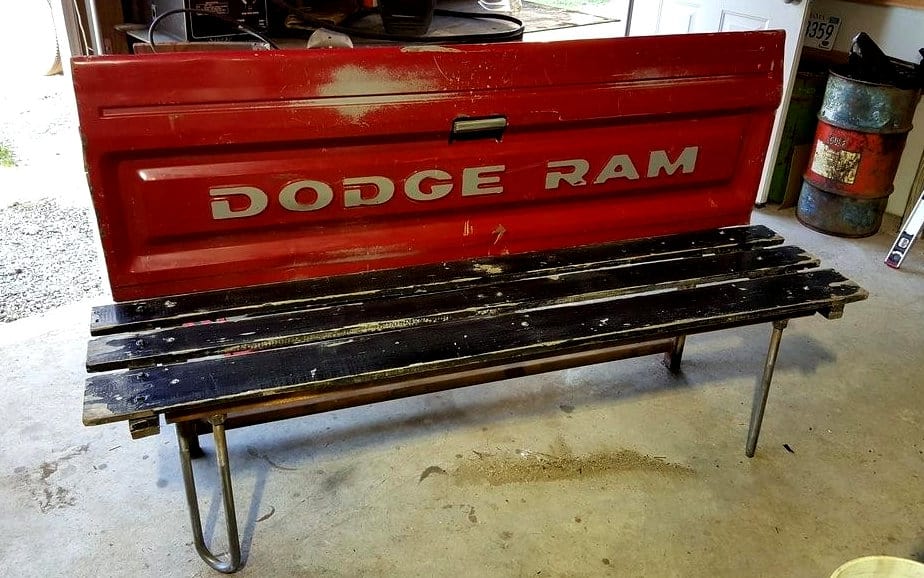
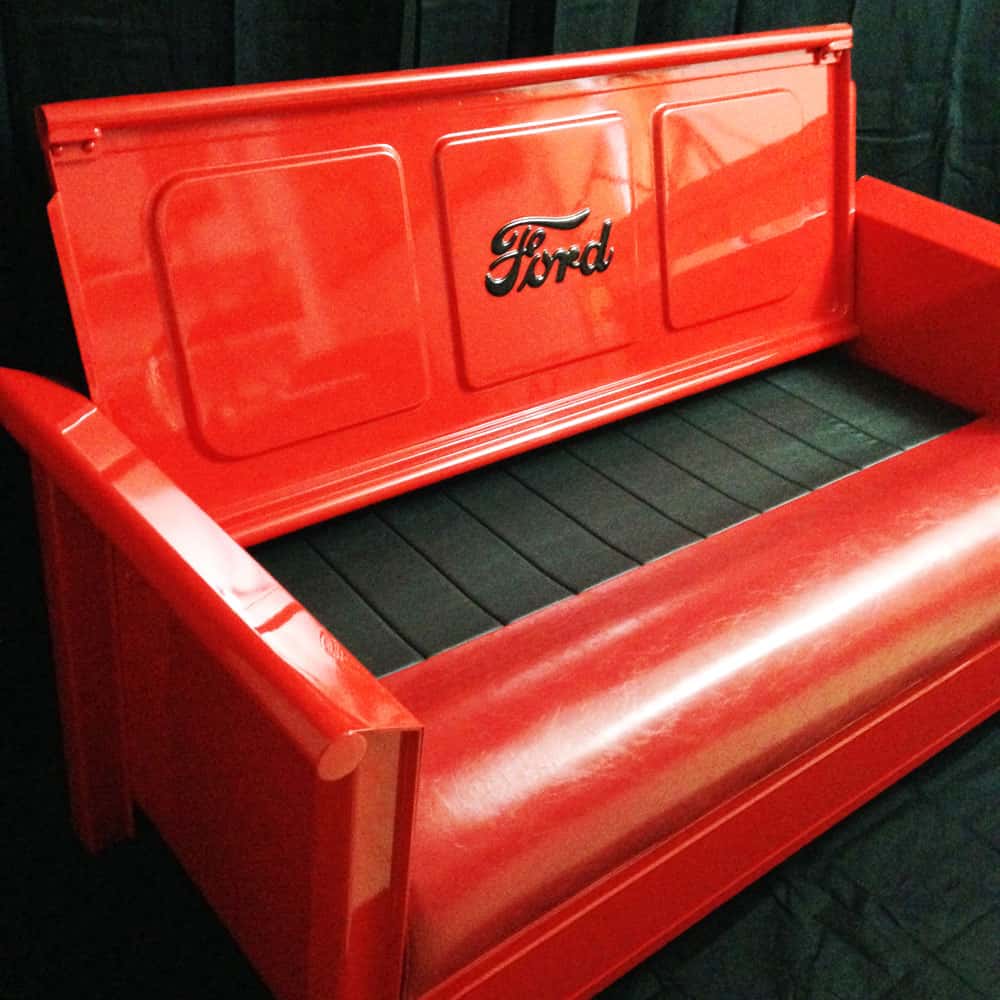
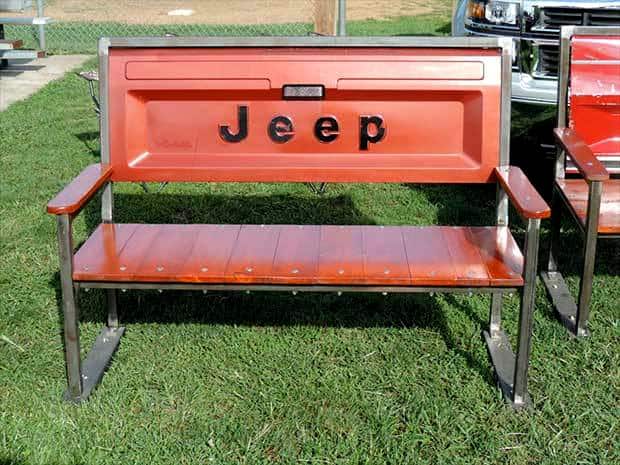
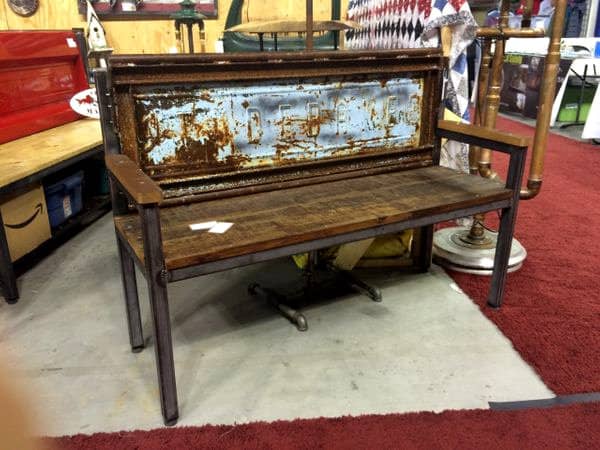
Wood Based Tailgate Benches
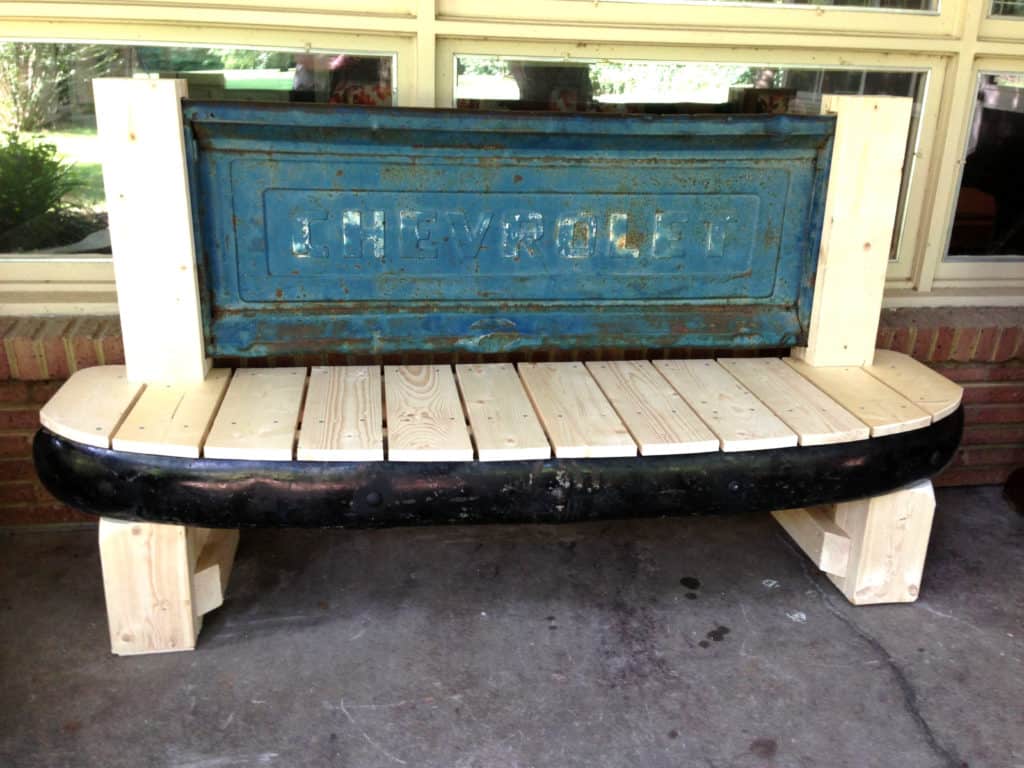
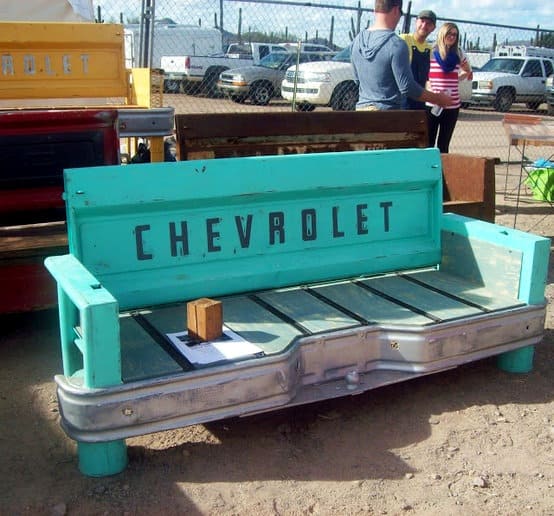

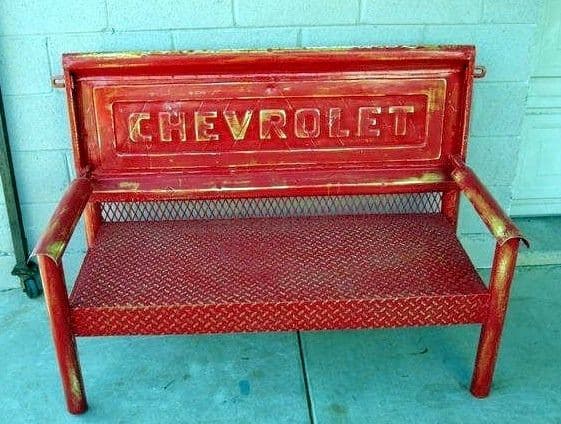
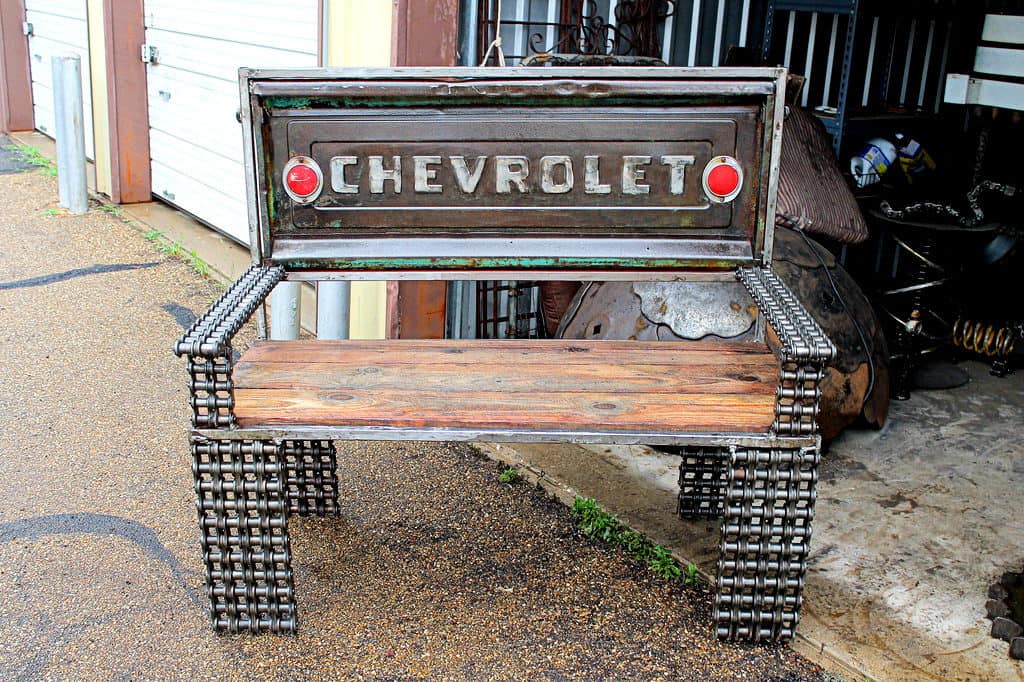
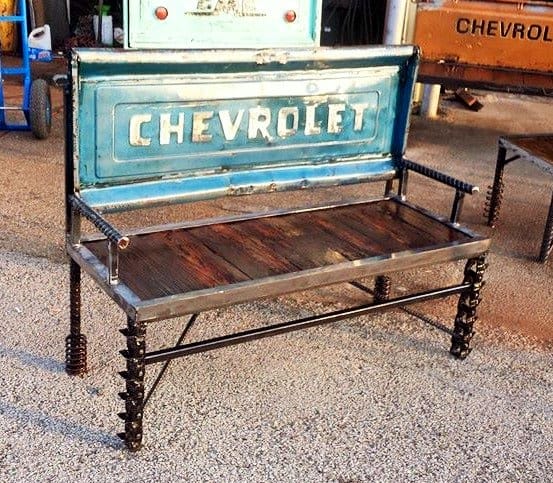
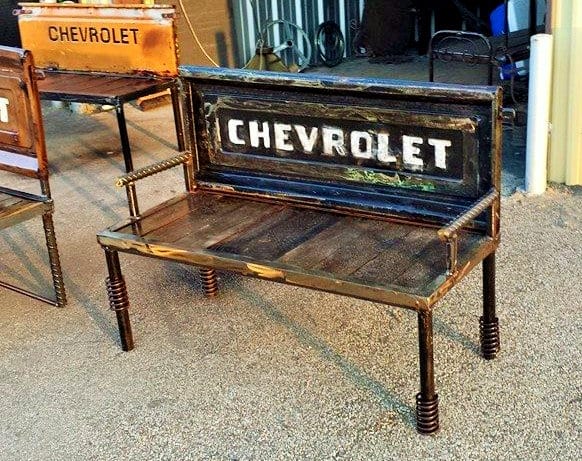
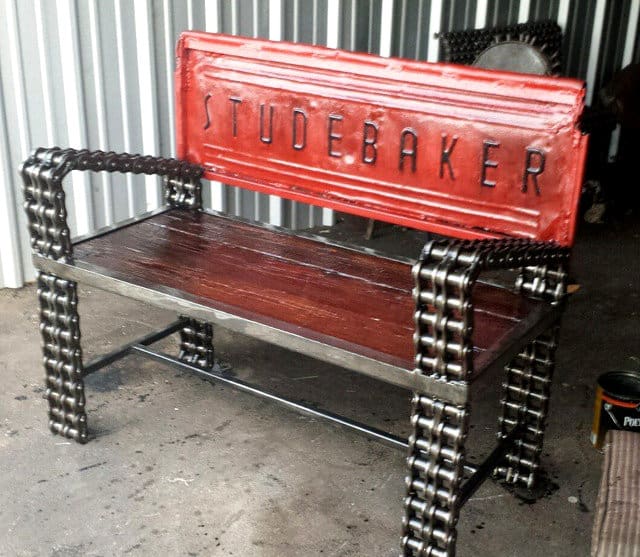
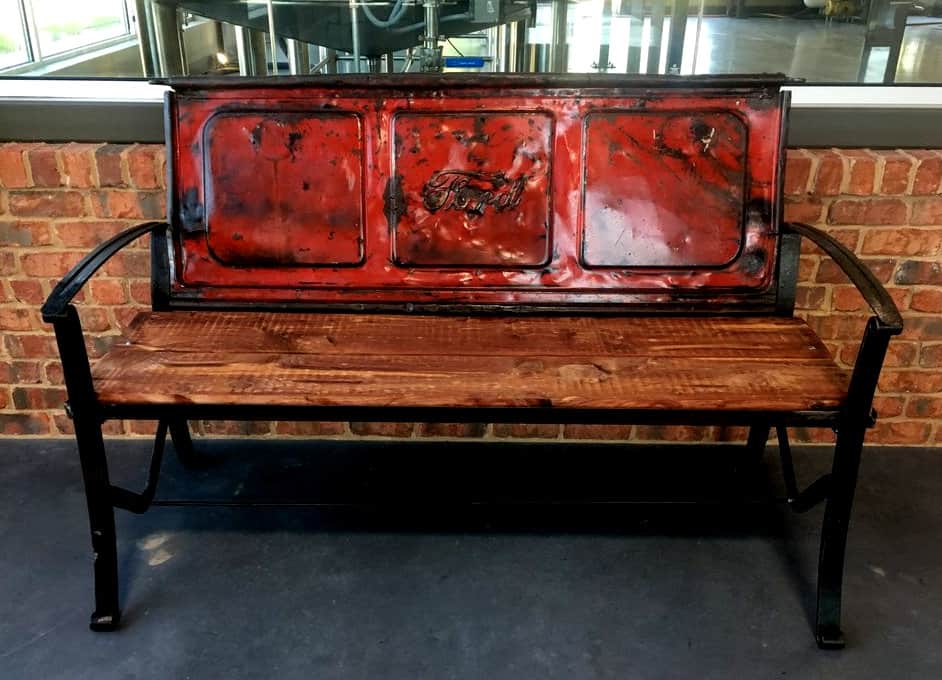
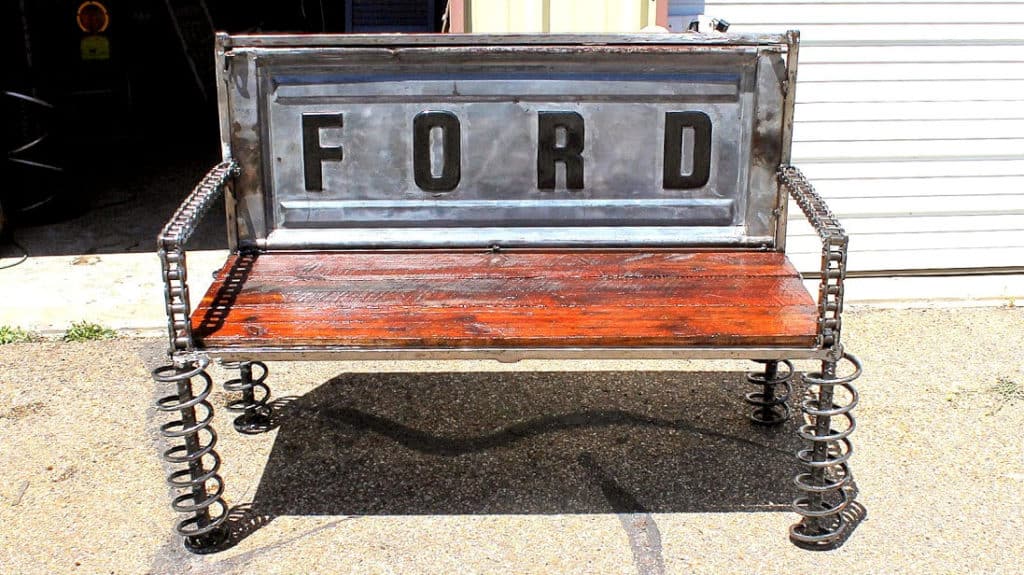
Metal Based Tailgate Benches
More Inspiration:
Vehicular Furnishings, Automotive Decor, and Car Part Art