Suicide Door Hinges, arguably made best known among today’s hot rodders and customizers by the Lincoln Continental four-door convertible of the 1960s, are a popular customization.

Not only do they add a high level of “cool factor”, they actually make entering and exiting the vehicle much easier. The occupant can enter in a natural way; walking forward towards the vehicle, and then turning as they go to sit, and exit by stepping forward out of the vehicle. It makes good sense.

Suicide doors were not uncommon on cars manufactured in the first half of the 20th century. They were especially popular in the gangster era of the 1930s because “It’s a lot easier to shove somebody out with the wind holding the door open”, Dave Brownell, the former editor of Hemmings Motor News stated.
Today, suicide doors can be found on a number of production vehicles, but are often referred to as “rear-hinged doors”, “coach doors” (Rolls-Royce), and “freestyle doors” (Mazda). Thankfully, among car people, term “suicide doors” is alive and well.
Many hot rod and speed shops specialize in suicide doors. For many, a professional fabricator is the way to go.

The first suicide doors I ever did were on a 1971 Porsche 914 and I used hinges from a Chevy Chevette – I used the left hinges on the right and vice versa, and turned the hinges upside down. It worked pretty well.
But if you are handy with a cutting wheel and welder, you can tackle the job yourself with one of the many suicide door hinge kits and bear claw latch kits available today, example kits appear below.
These kits take a lot of the guesswork out of the project and lend a more professional finish in the door jambs that my first try.

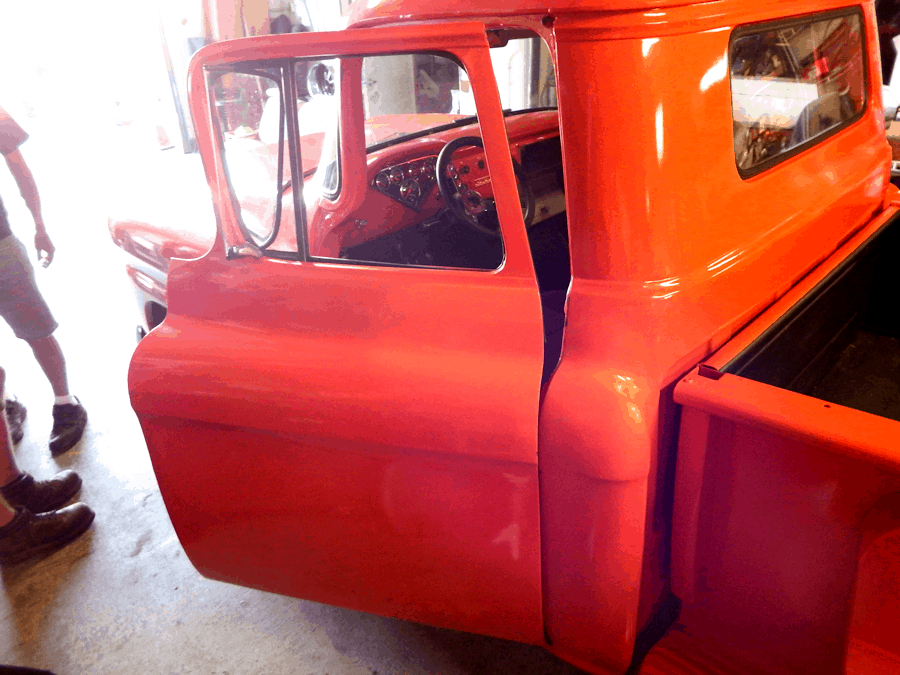
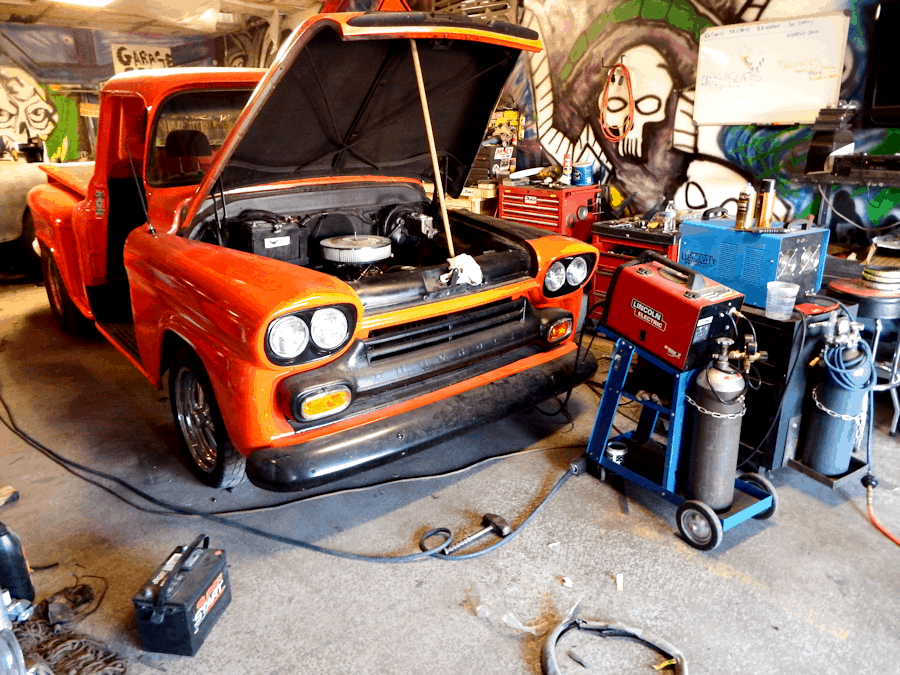
1958 Chevrolet Truck – Suicide Door Hinge Install Example
Installing the Suicide Door Hinge Pockets
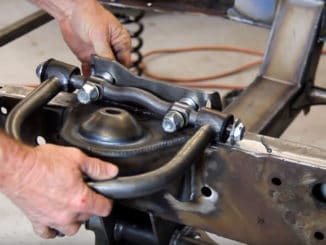
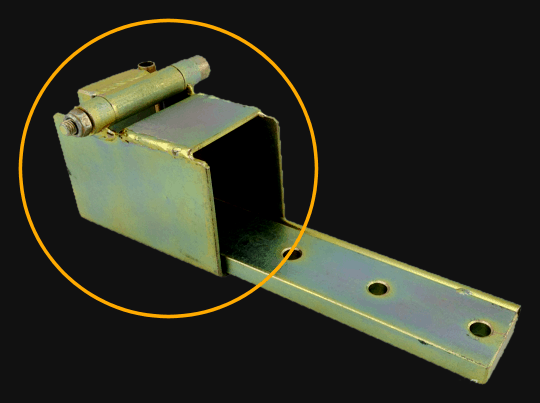
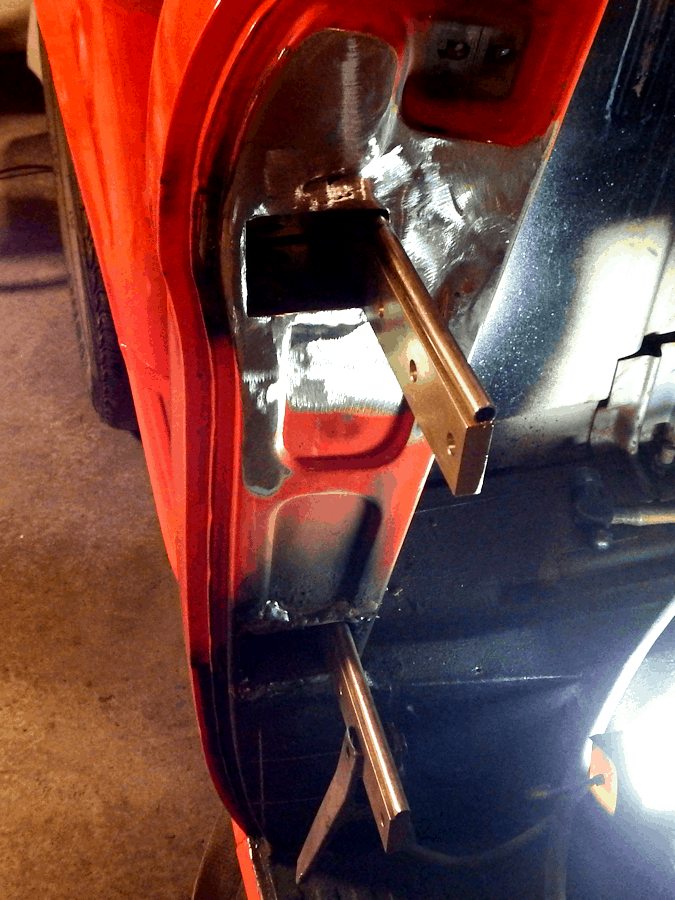
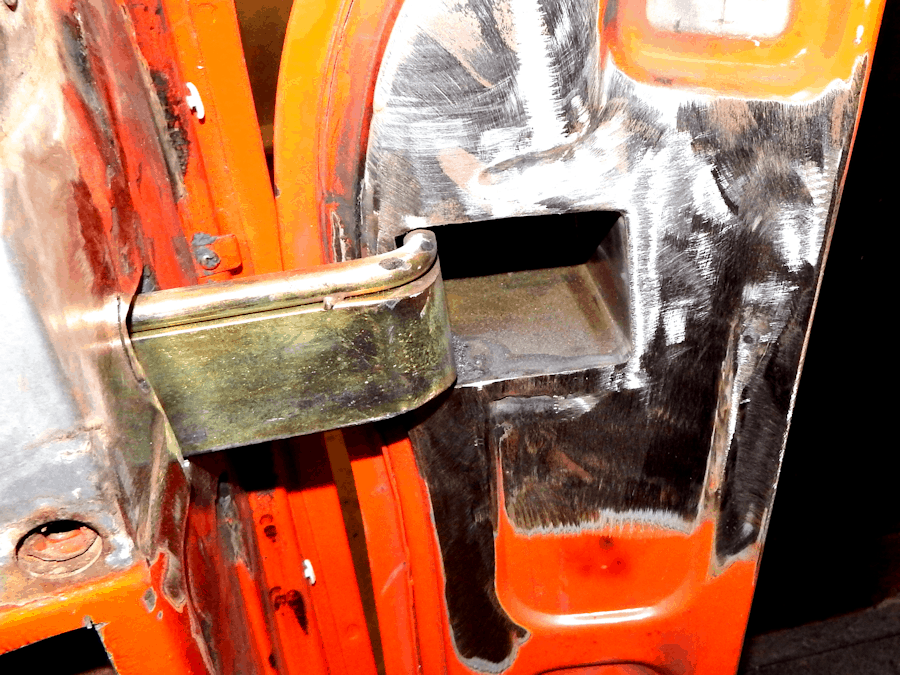
The hinge pockets are the rectangular pieces of metal that the hinge arm rotates back into when the door is closed. Note the hinge pocket circled in the photo.
The hinge pockets will mount in the door jamb of your vehicle. First, remove your door latching mechanisms from the door jamb, likely a striker pin, but some vehicles may have a different latching system.
Determine where to make the cut-outs for the hinge pockets. Remember that you need to space them as far apart as possible to minimize flex. Because the position of the hinge pockets dictate the position on the door where the the hinges will attach, you need to give that some thought — don’t cut two giant holes in the door jamb, mount the hinges, then realize that you won’t be able to mount the hinge to the door at that position due to the door design, window channel inside of the door, etc.
Before you start cutting, be certain to remove the inner door panel and check out the inside of the door. Make sure that the hinge arm can be inserted into the end of the door at the position of each hinge pocket.
Remove the pins from the hinges, and the arm will separate from the hinge pocket.
For your suicide door hinge installation and door to be as sturdy as possible, you will want to mount the two hinges on each door as far apart from each other as you can to reduce any flex. Make sure that there is room behind the door jamb for the entire hinge pocket and that there is room inside the door for the hinge arms.
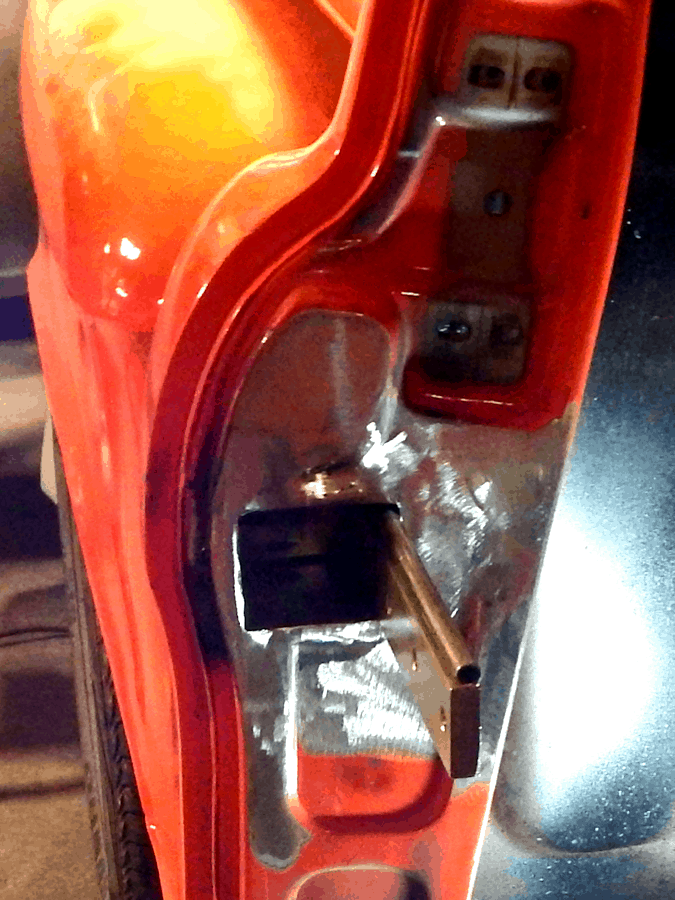
You want to mount the hinge pockets as close to the outside of the car body as possible. This allows the pivot point on the hinge pocket to be very close to the outside of the vehicle, allowing the door to swing as far away from the vehicle body as possible. You don’t want the door to swing open and dent your body…
Before you fully weld the hinge pockets in place, attach the hinge arms to the hinge pockets with the pins and swing the hinge back and forth as if opening and closing the door. If everything feels smooth, you are good to go.
IMPORTANT: In order to have the door open level, the hinge assembly should be perpendicular to the ground. In some cases, the top hinge may be at a different distance from the outer door skin than the bottom hinge.
IMPORTANT: At this point, the hinge assembly should only be tack-welded in place until the door can be checked for proper operation.
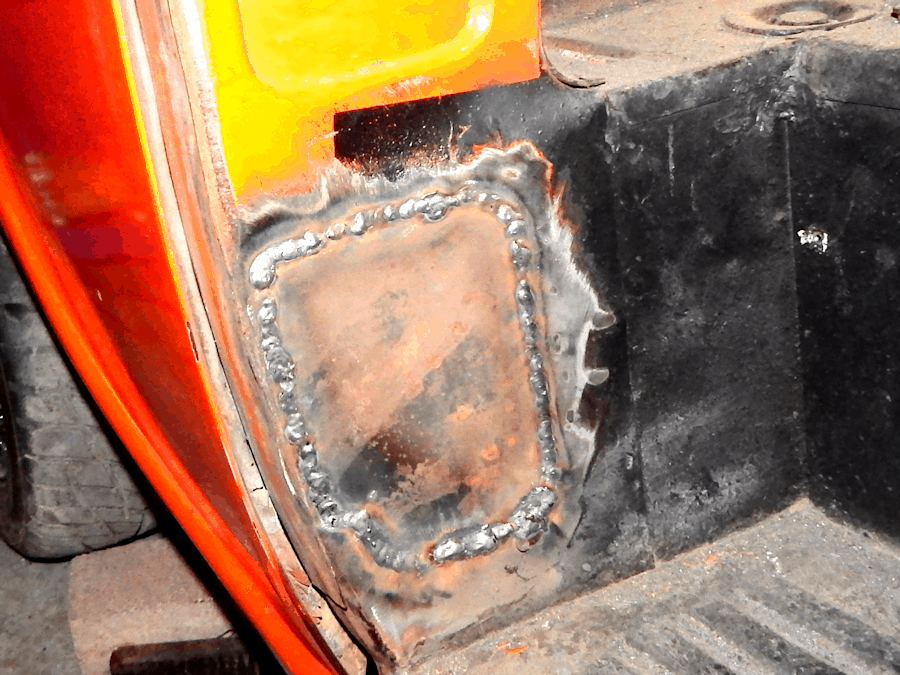
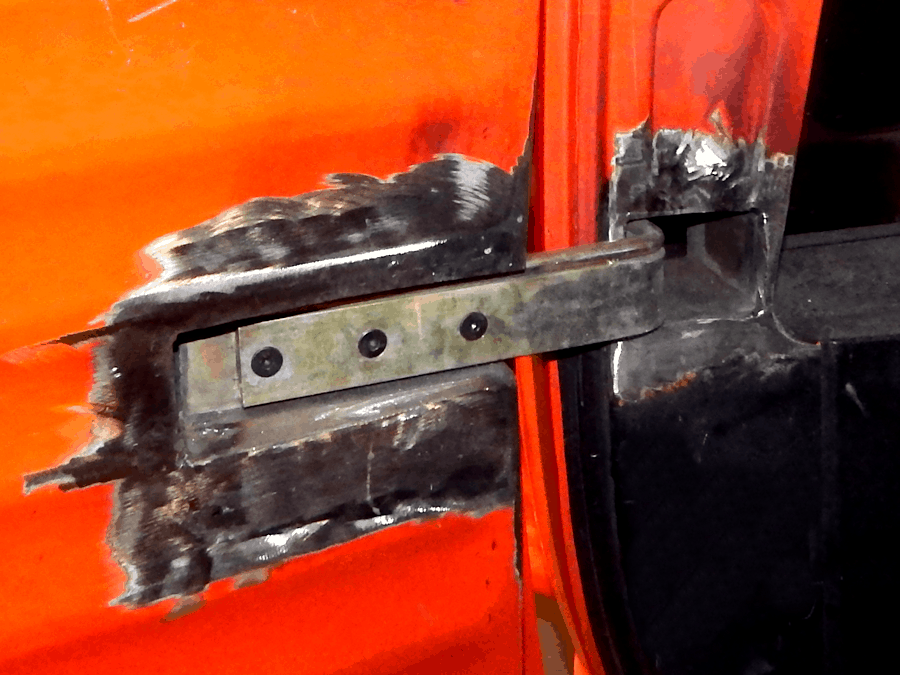
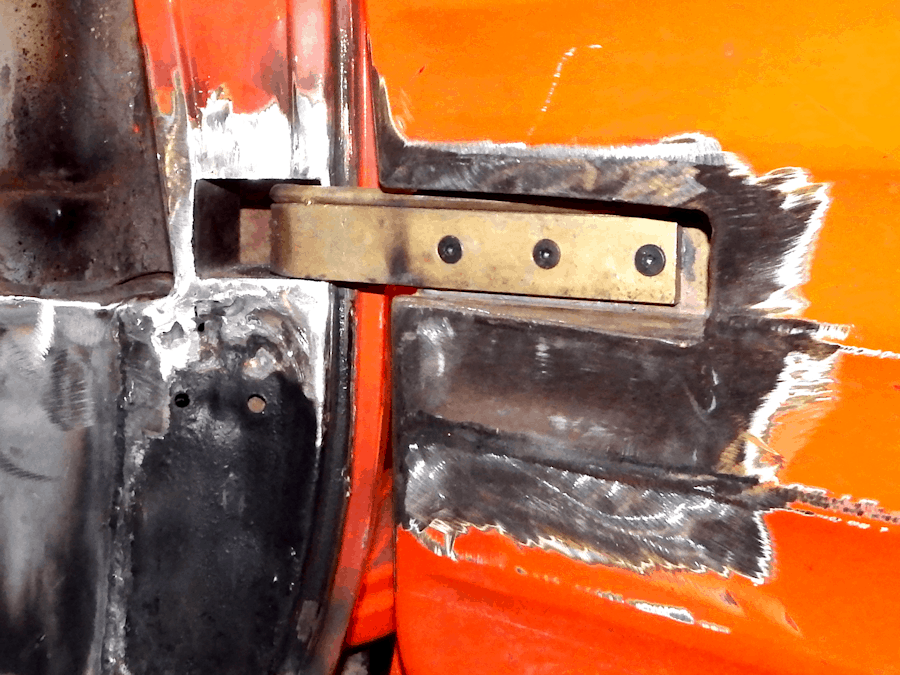
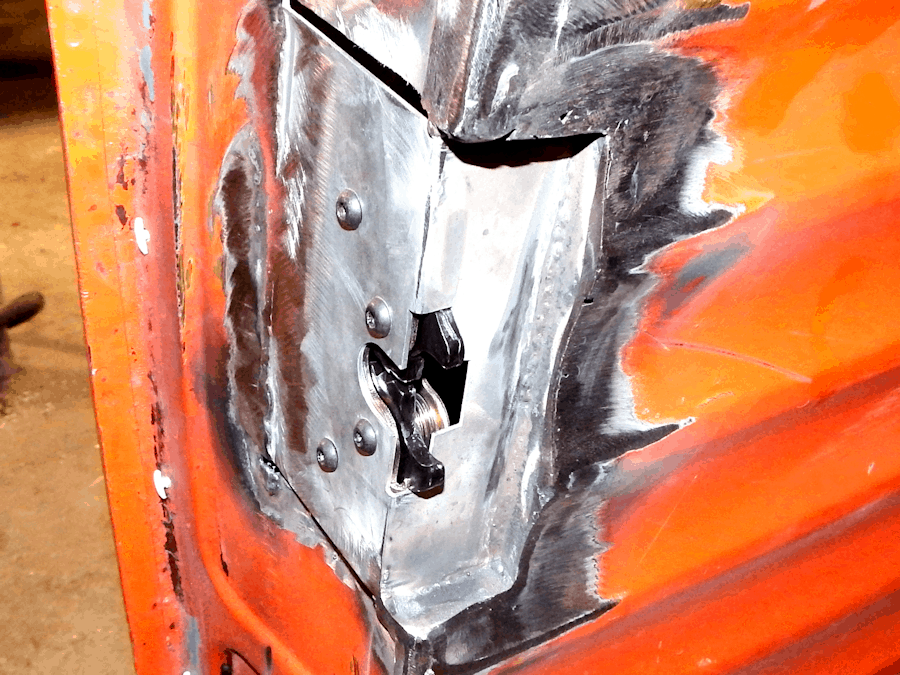
Welded in and ground down. Note that this hinge kit includes a very handy wiring tube, helpful in this case as door poppers and remote control will replace the door handles.
The suicide door hinge pockets mounted in the door jamb will support the entire weight of the door — the hinge pockets must be well mounted — Do NOT cut out an oversize or sloppy hole and expect to fill with weld. You must cut the openings as close as possible to the actual size of the hinge pockets. It’s better to cut the hole out small and grind or file it down to a perfect fit.
Installing the Bear Claw Latch Kit
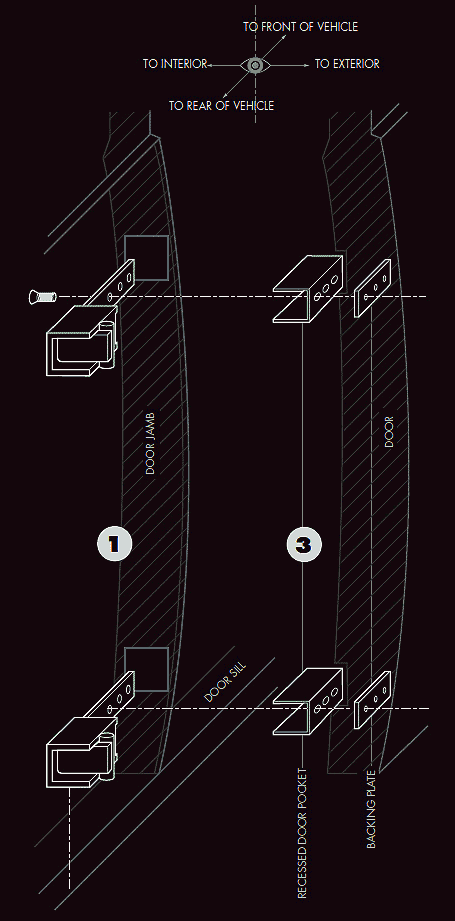
To determine where you are going to install the latch on the door, position it so that you can mount the striker plate and striker at the same position on the door jamb.
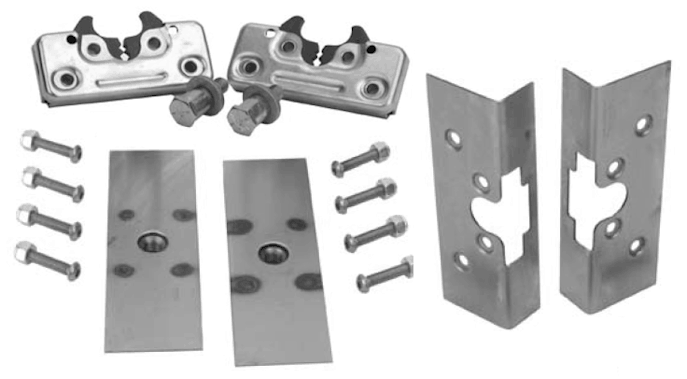


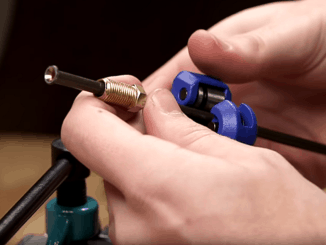
In the picture above, you can see the install plates for the latch, the bolts that secure the Bear Claw latch to the install plate, and the striker pin install plates.
Determine where you want to place the latch and trace the outline of the install plate onto the door. Again, make sure the size as accurate as possible. Once the area is cut out and the install plate fits cleanly into the opening, bolt the Bear Claw latch to the install plate and weld it in place.
Install the Strike Pin and Plate
To get the strike pin lined up perfectly, latch the strike pin into the teeth of the latch that you just mounted. Then climb into the vehicle and pull the door closed. Mark the position on the door jamb where the center of the strike pin needs to be positioned.
If you don’t have enough room for the entire striker plate, you can cut the plate down to whatever size you need. Then make the appropriate cut-out and lightly spot weld the striker plate in the door jamb. Attach the striker pin to the plate and try closing the door. Make sure that the latch is aligned with the striker pin before you weld the plate in place.
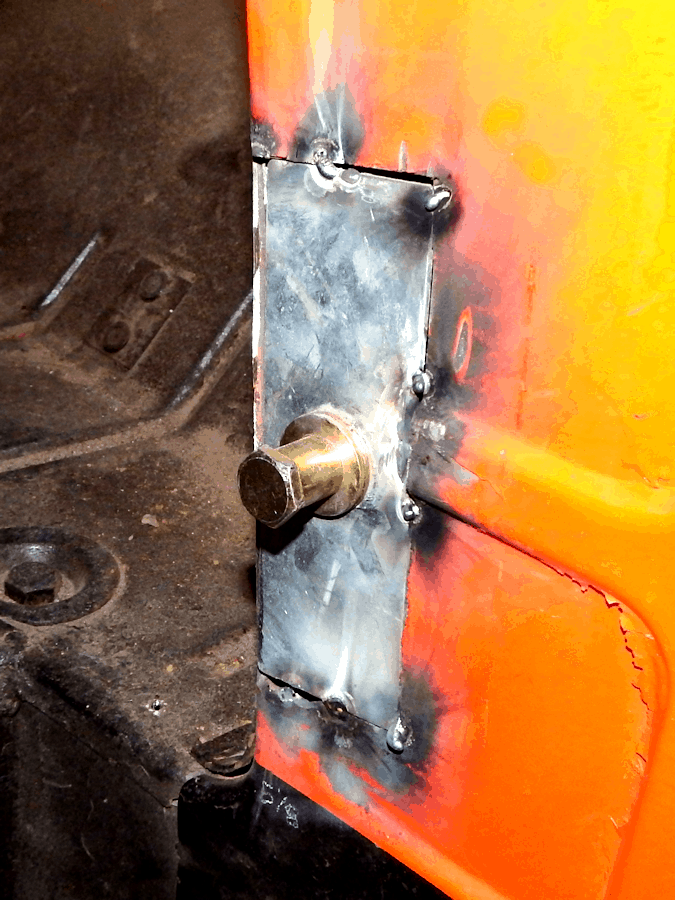
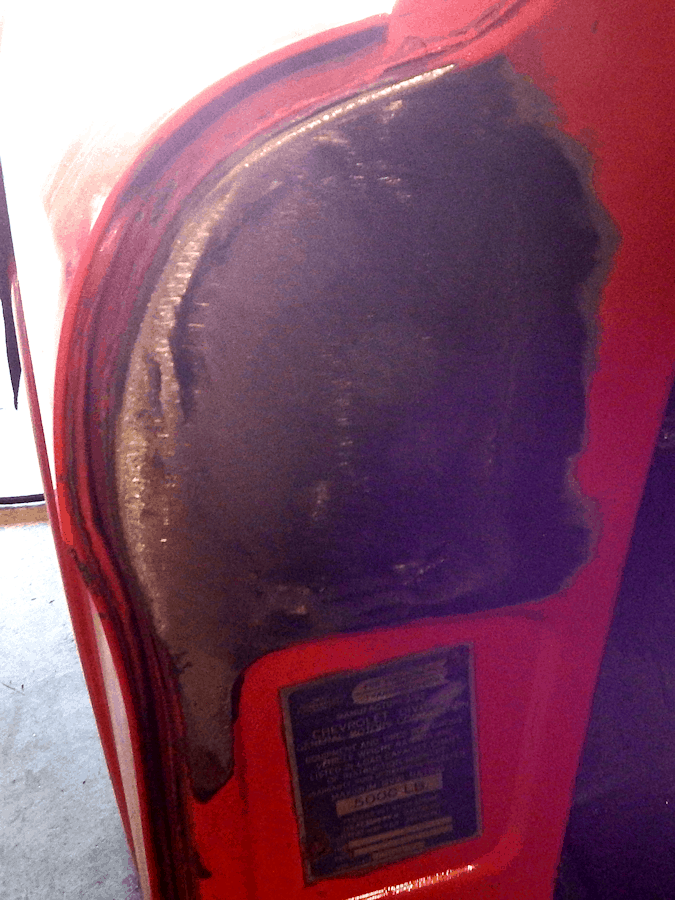
Cutting out the original hinge pockets.
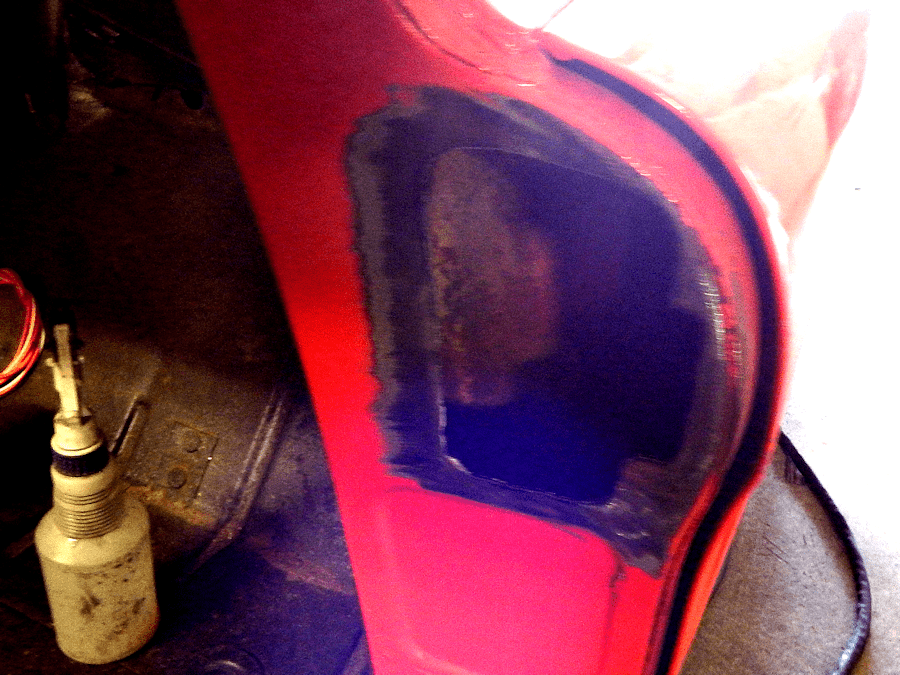
And welding the holes over.