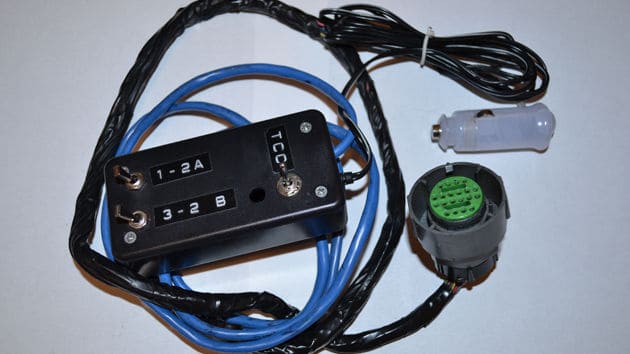
Here’s a simple electronic device you can make with only a few switches, a project enclosure, and a salvaged wiring harness connector. Hot rodders and street machiners could use this shifter as an alternative to expensive custom wiring.
It allows direct control of shift solenoids A, B, and TCC while bypassing the vehicle computer.
All 4 forward gears and the converter clutch can be controlled independently. This can be used to determine if an electronic problem is in the transmission or not.
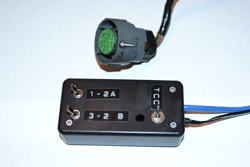
The Schaffer Shifter
Have you ever heard of a Schaffer shifter? Probably not, but if you work on automatic transmissions professionally, you have.
It’s an extremely useful piece of diagnostic equipment to help technicians solve electronic problems while the transmission is in the vehicle. It’s different from a diagnostic scanner which plugs into the OBDII port under the dash. Those are mainly for reading trouble codes.
The Schaffer shifter, on the other hand, can be plugged directly into the main harness connector on a transmission substituting for the computer. It’s basically a 12 volt powered box with many switches and other controls to manually manipulate the various solenoids inside the transmission while the vehicle is on the lift or even traveling on the road.
An assortment of connectors allows it to be used on a wide variety of vehicle makes and models. Equipment like this is expensive and therefore cost-prohibitive to most people.
So, let’s take a look at a similar homebrew device we can build on the cheap!
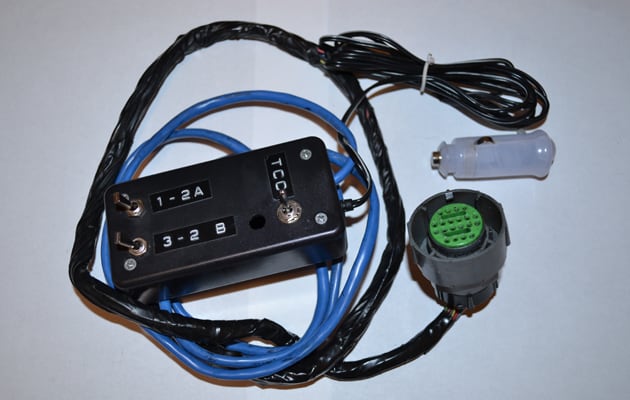
Here is my first experimental shifter made from components in my junk drawer. The parts used are:
- a fused cigarette lighter plug,
- a project box (this is an old one with extra holes),
- 3 SPST switches,
- 8ft of multi-conductor cable (I used ethernet cable), and
- a junkyard section of wiring harness with the connector.
Wiring Diagram/Schematic
Take a look at this schematic: this is what you must build. I used a multitester to determine which wires corresponded to connector pins A, B, E, and T.
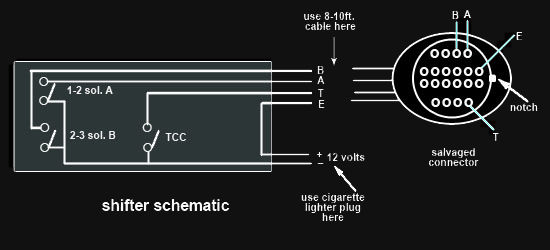
As you can see it’s pretty simple. First of all, notice the 12-volt positive side goes straight through the device without being switched at all. It goes from the center conductor of the cigarette lighter plug (+) all the way to pin E on the harness end.
For safety, make sure the cigarette plug you use is the type with an internal fuse. The fuse should be .5 amp. The three SPST switches control shift solenoids A and B, as well as the torque converter clutch solenoid (TCC) by grounding them.
Here’s a view from the transmission case connector and the actual components being controlled.
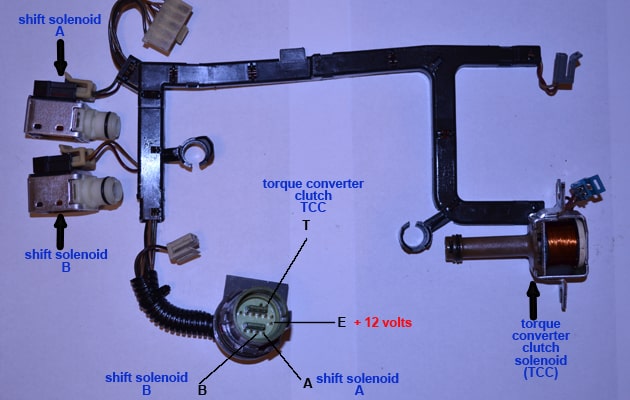
How to use the 4L60e manual shifter
- Disconnect the vehicle wiring harness from the transmission at the case by squeezing the sides together while pulling the connector up.
- Connect the shifter you have crafted to the transmission.
- Now route the cable from under the vehicle into the inside without letting it drag the ground.
- Plug it into the cigarette lighter receptacle.
- Start the engine and while holding the brake put the transmission selector into drive.
After releasing the brake, you can manually command the 4 forward gears.
4L60e Manual Shifter Switch Logic
This is the switch logic:
| 1st Gear | sol A = ON | sol B = ON |
| 2nd Gear | sol A = OFF | sol B = ON |
| 3rd Gear | sol A = OFF | sol B = OFF |
| 4th Gear | sol A = ON | sol B = OFF |
The TCC switch can be switched on at any time. Confirm clutch is working by noting a drop in engine RPMs.
Note: I did not test the shifter on a pwm TCC type transmission. Because the amount of clutch engagement is related to the duty cycle of the PWM solenoid which is controlled by the vehicle computer, the switch may not function.
One more important note: Because the pressure control solenoid is not wired in this simple shifter, transmission line pressure will be at the maximum. Watch out for the neck-snapping shifts!
From Transmission Bench…


